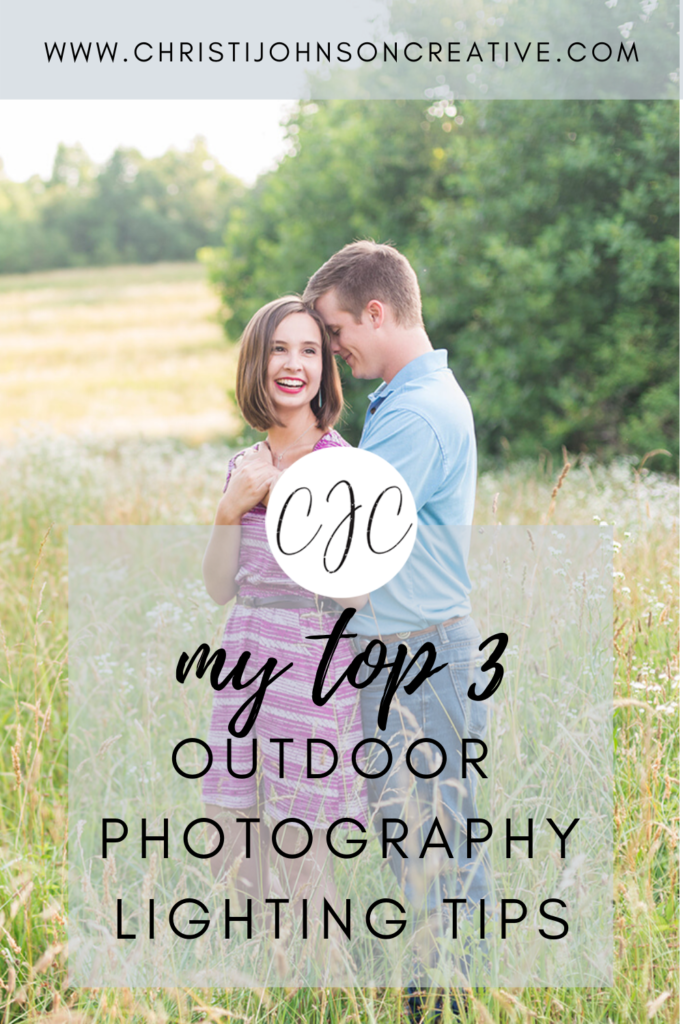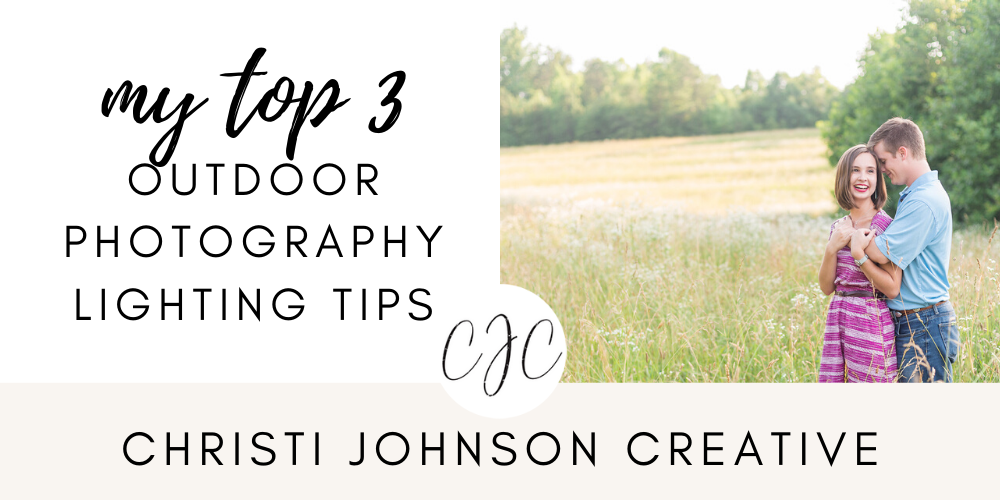
My Top 3 Outdoor Photography Lighting Tips
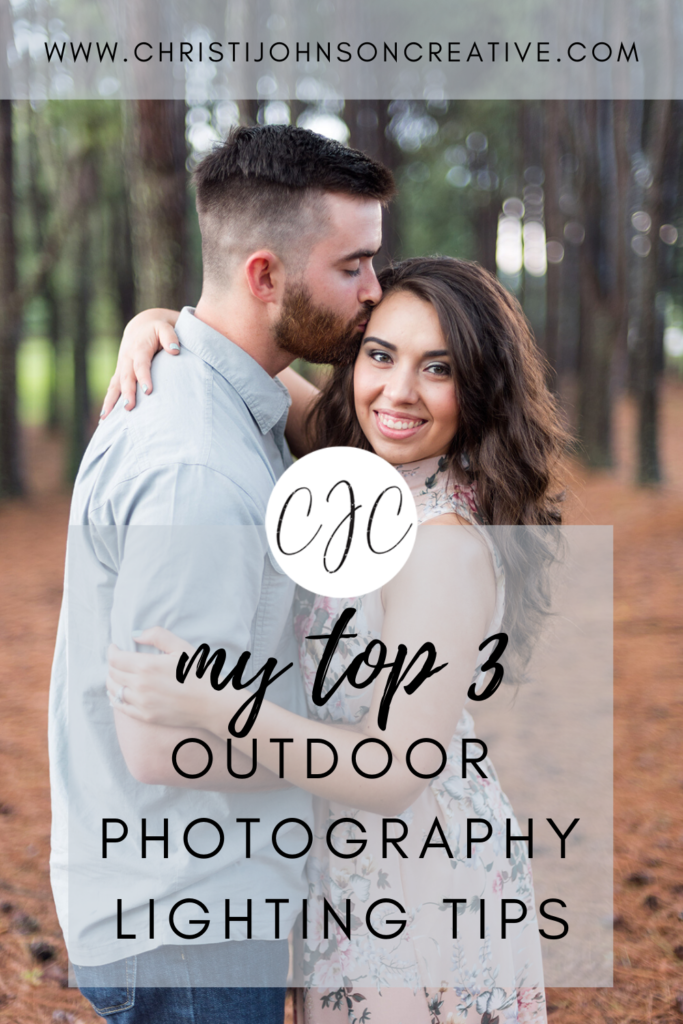
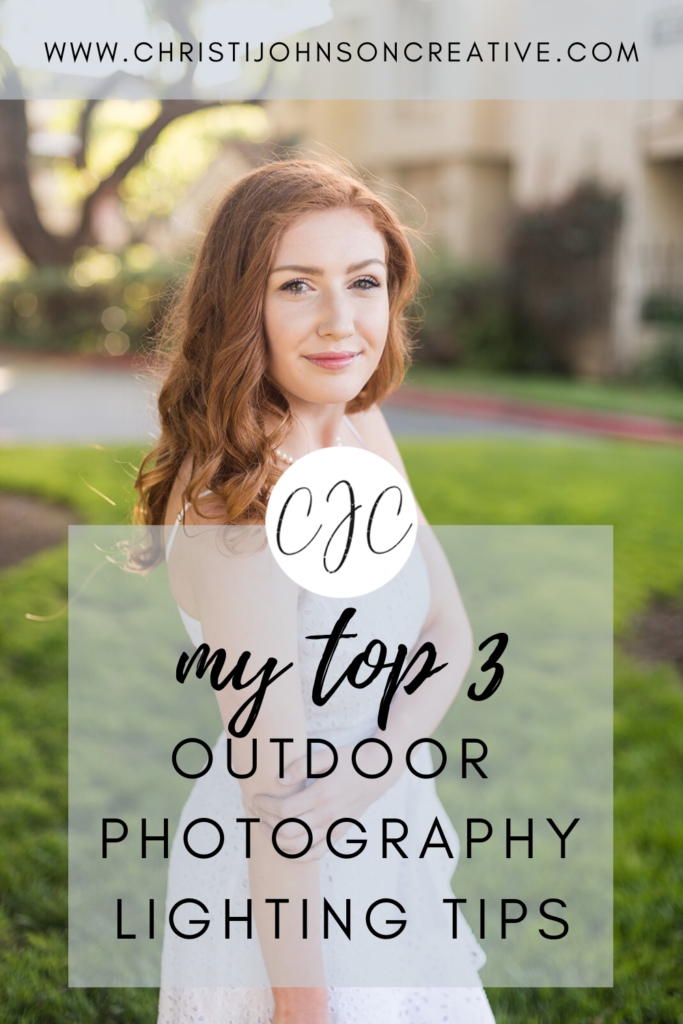
Today I’m sharing my top 3 outdoor photography lighting tips! If you’ve been looking for even, consistent light and have been wondering how to get your skin tones consistent, then this post is for you!
Look for Even Light
Always look for naturally diffused, even light without any hot spots. Open shade is best, but watch out to make sure that even the background is evenly lit and nothing is blown out. Shade from a building or an awning can be great, but try as much as possible to make other buildings in the background have even light as well. You can look for even shade from trees, but avoid the kind where lots of sun patches are shining through.
Use the Sky as a Secondary Light Source
When shooting in the shade though, it’s always best to use the sky as a secondary light source. Katelyn James describes this as giving your clients’ faces “access to the sky.” In other words, they should be able to look up and see the sky. That will instantly brighten their faces and avoid dark circles under their eyes. So for example, if there is a grove of trees or shade from a large tree or object, place your clients at the front of the shade right where it starts instead of directly in the middle.
Avoid Color Casts
Along the same lines, using the sky as a secondary light source will help green or muddy color casts, especially if you are shooting among trees. Have you ever done photos in the forest or in a shady spot and wondered why you don’t have crisp skin tones and why faces are so dark? It’s probably because their faces don’t have access to the sky! Instead, all of that green and brown from the trees is reflecting back onto their faces. Also, watch out for other objects that can create color casts like brick or colored walls or other objects, because no one wants to fight red or funky colored skin tones. If you want to have that wall in the photo, put your subjects’ backs to the wall and make sure they are facing some other type of natural reflector that will bounce clean light onto their faces.
Bonus Tip: Look for Natural Reflectors
Looking for natural reflectors is a great way to avoid color casts. Natural reflectors are large objects of a neutral color that will reflect light. For example, if you’re in an alleyway with brick walls on both sides, put your subjects in the center of the alleyway, bring them to the front of it, and use the pavement or sidewalk as a natural reflector and avoid having their face turned towards the red brick wall. Sidewalks can actually be great reflectors because it will bounce neutral light onto your subjects faces. You can also look for white walls or other neutral colored objects. In a pinch, such as in a big green field, you can bring a reflector and lay it on the ground while having it propped up by something like your camera bag where the light reflects up onto their faces.
And there you have it! My top 3 outdoor photography lighting tips! If you learned something new, comment below! If you have any questions, be sure to let me know!
For more educational posts, click HERE.
Happy Shooting!
-Christi
