Have you ever come across a game changer in your business? You know what I’m talking about. Something that makes your life SO MUCH BETTER that you can’t even remember how you existed without it? In my 10 years as a photographer, I had several business game changers. One of the biggest game changers in my business was when I started using a program called Photo Mechanic.
I am NOT kidding when I say that it literally cut my post-processing time in HALF. If culling images is a pain point for you, it will change your LIFE. So today I’m sharing about this little, unassuming program that made a massive impact on my business. I’ll tell you how it helped me so much, talk about some of its features, and show you how to integrate it with Lightroom for the fastest workflow. Ready? Let’s dive in!
What is Photo Mechanic?
Photo Mechanic is a program that allows you to organize, manage, and sort photos! You can also add metadata and keywords, rename photos in batches, and easily export them to your editing software of choice. Check out their website for more information and how to download it! It costs less than $150 and it has literally saved me HOURS of work. It only takes a few minutes to install, AND they have a free 30 day trial.
Top Five Reasons I Love Photo Mechanic
1. Tack Sharp Reviewing
Originally I was culling my images in Adobe Bridge. I would go through and choose the ones I wanted and then open them in Lightroom or (at the time) Photoshop. But what frustrated me is that the images always appeared blurry unless I zoomed in! I just can’t afford that when culling because I want my images to be tack sharp. Photo Mechanic provides that!
2. Instant Load Speeds
Since I wasn’t having luck culling in Bridge, I switched to culling in Lightroom. The problem with that is it takes 2-3 seconds for each image to load in Lightroom. I can’t decide if I want to keep an image until I can see if it’s in focus. 2-3 seconds might not sound like a lot, but as self-proclaimed over-shooter, it’s a NIGHTMARE. It made editing so slow. Going through 3500 images takes about 3 hours, not including any editing. Photo Mechanic? IT LOADS INSTANTLY. Culling is a BREEZE. I can immediately flag images as picks and spend maybe half a second on each image. So that 3 hours turns into 30 minutes.
3. Easily Flag Images as Picks
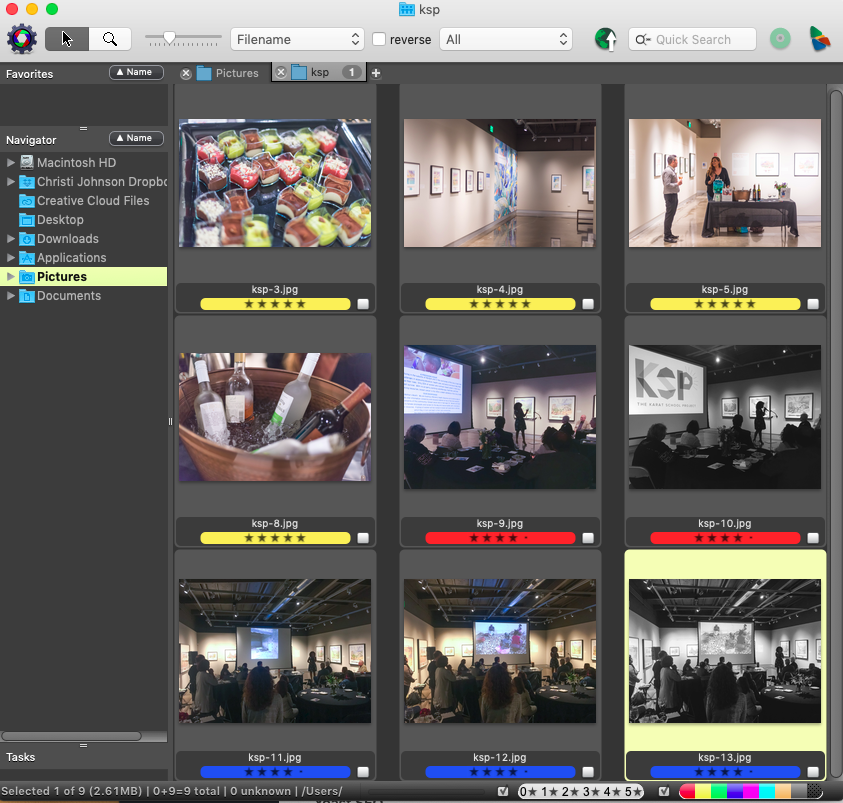
Selecting which images you want to edit is as simple as one push of a button. Depending on how you have your shortcuts set up, you just press a number key for the rating you want to apply and move on to the next photo. You can flag them with star ratings or color labels. And it’s instant.
4. Sort and rename photos quickly
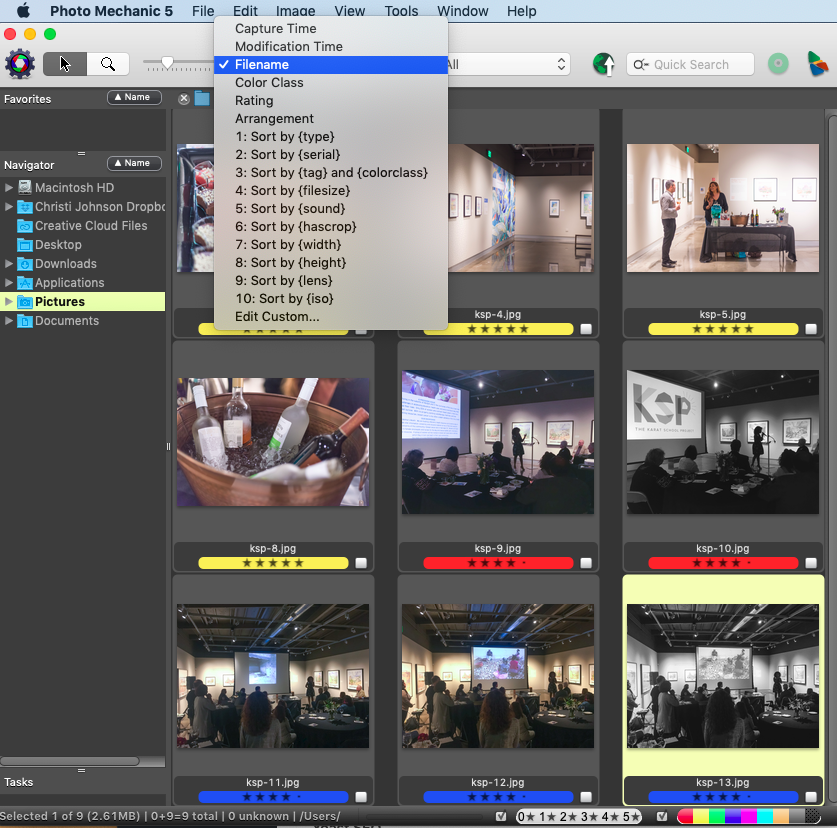
It takes no time at all to sort photos. You can sort by filename, capture time, star rating, color, and MORE. You can move photos or copy them to another location in a breeze. Once you’ve applied all your color or star ratings to the photos you want to edit, you can sort them by color and batch rename them. This is SUPER helpful if you like to give your images for your blog different names or if you’re working with several clients in one shoot. You can give each client a different color label and easily rename the photos for each grouping. And it only takes a few minutes to apply the changes!

5. Easy Integration with Lightroom
This is EPIC. Any star rating you choose in Photo Mechanic will show up in Lightroom. Not only that, but you can also set up your default colors to match Lightroom’s colors. There is a great YouTube video on how to do that HERE. To edit photos in Lightroom, you’ll first want to set your default program for editing to Lightroom. Then just select the ones you want and choose Image > Edit Photos and BOOM. It’ll open up in Lightroom.
Culling Sessions Using Photo Mechanic

The way I use Photo Mechanic is super simple!! I’m sure there are a lot more things I could be doing, but my goal is just to go through images FAST.
- First, I take all of my cards and back up my images onto my external hard drive.
- Next, I put all of the images into one folder on my hard drive.
- Then I open Photo Mechanic and drag that folder into Photo Mechanic.
- I sort the images by “capture time.”
- I go through the session just ONCE and pick my favorites along the way. 5 stars is a favorite I plan to blog, 4 stars are my next favorites, and 3 stars are the “good” images that I’ll use if I need them.
- Next, I select all the images 3 stars or higher and move them into their own folder called “culled.”
- I import all the culled images into Lightroom.
- In Lightroom, I filter by 5 stars and edit those for my blog post.
By using Photo Mechanic and Lightroom (and another program called BlogStop!) in tandem, I’m able to have a full blog post of a wedding up in just 3 DAYS or LESS. I’d love to share about how I use Lightroom for faster editing at some point and about how I use BlogStomp for blogging! But for now just rejoice in the fact that you don’t have to spend HOURS culling!!!
Culling in Photo Mechanic for Faster Delivery to your Editor
If you’re working with an editor, the 5 star images could be the ones you give as pre-edits. I ask all of my clients to edit at least 5-10% of their photos as pre-edits so I can have a guide to match my edits to theirs. It’s like using the cover of a puzzle box to check your work. Let’s say you want to deliver 1000 images to your client. Then you only have to edit 50-100 images in Lightroom. Culling a whole wedding in one hour is totally reasonable. Depending on your editing process, it could take you another 30 minutes to one hour to edit the pre-edits and then your part of the editing process is DONE and you can relax.
You might be asking, “Christi, you’re a private photo editor now and you offer culling services. Why are you sharing about this?” Because I GENUINELY want to help my clients and other photographers. Yes, I do offer culling services, but adding another 7 cents per image can add up QUICK for a wedding photographer. Why wouldn’t I share about something that can save them so much time and money??
Photo Mechanic was such a game changer for my business and I want as many people as possible to experience the freedom I felt when I first discovered it! If you have any questions about using it at all, let me know! Or, if you don’t use Photo Mechanic for your culling and you use something else that you love, what do you use and how do you use it? I’d love to hear about it!! Thanks for reading, and happy editing!


