
>Click Here to Watch the Understanding LR Mobile Tools Video<
>Click Here to Watch the Editing Consistent Product Photos Video<
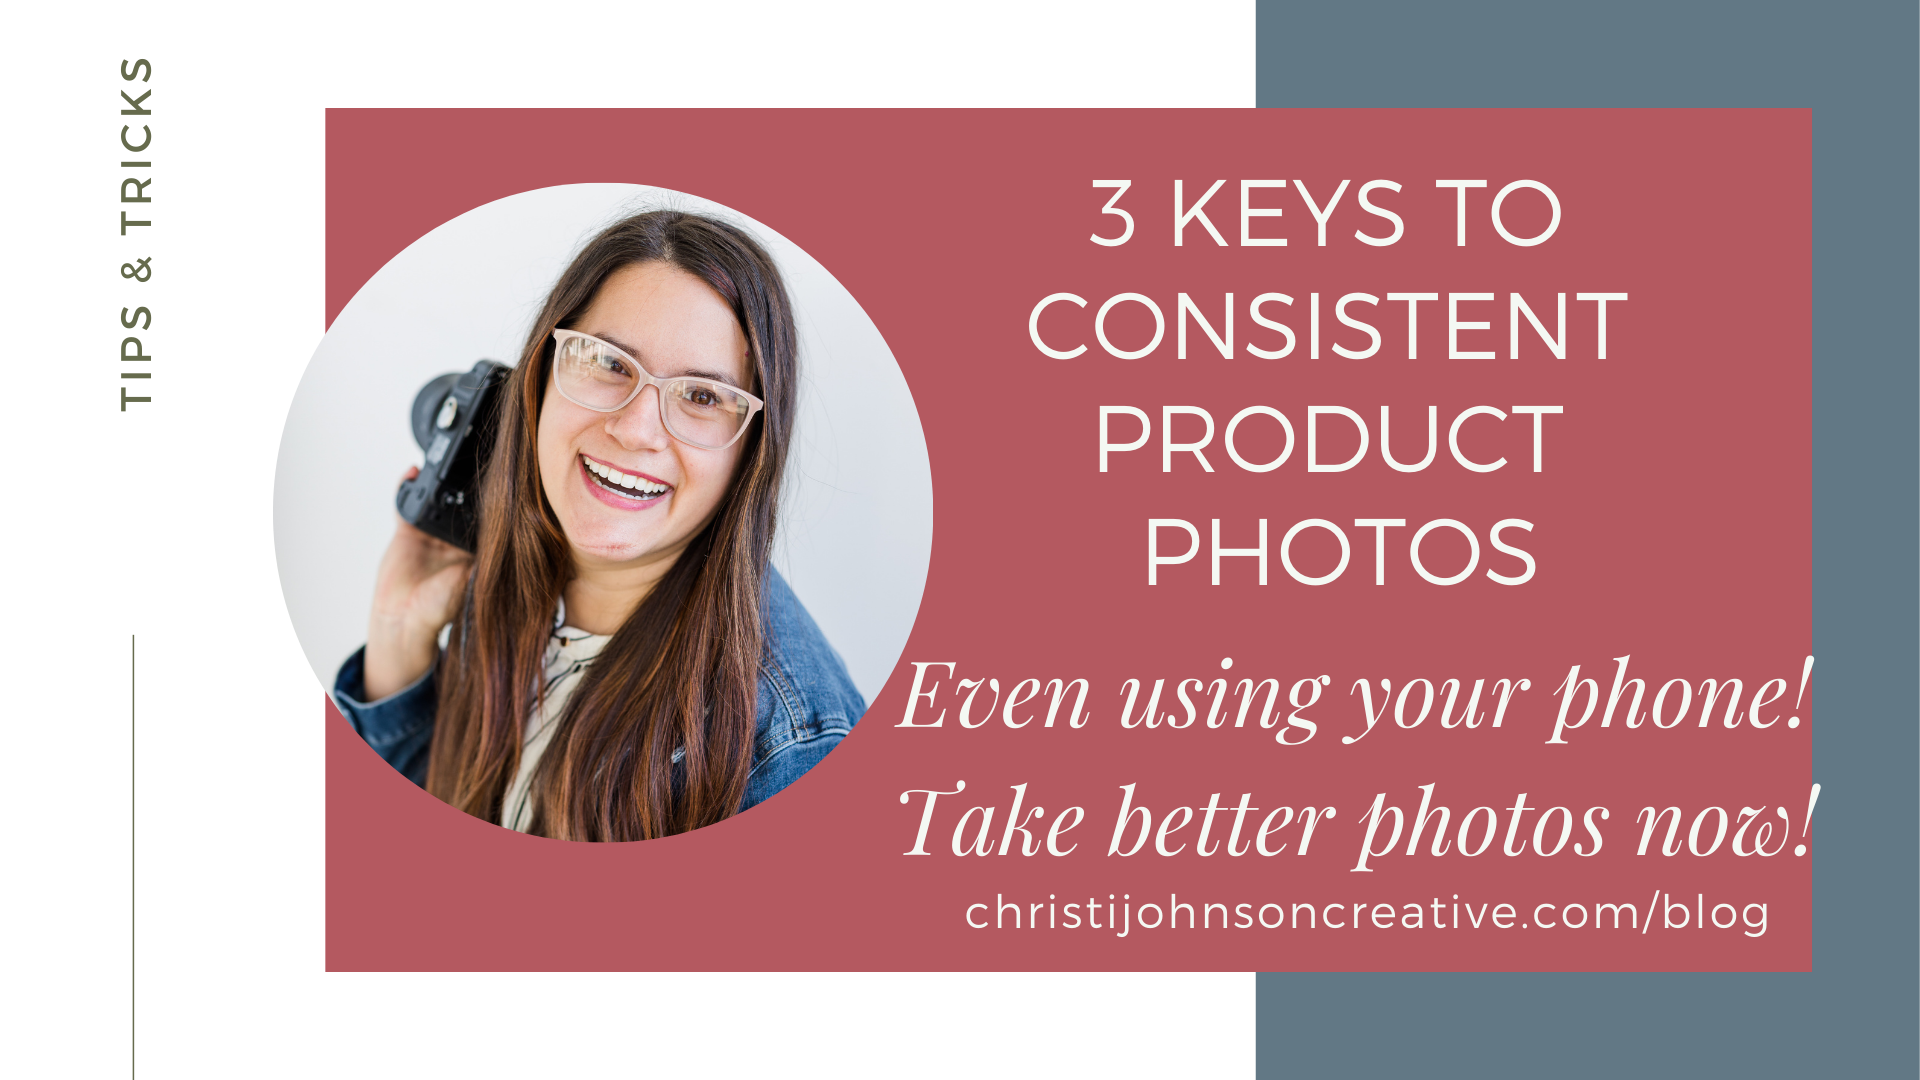
Have you ever tried photographing your products and wondered why they never look consistent? Or maybe you’re not sure why you’re getting a weird orange hue to your images. Or maybe it’s a blue hue. Well, I’m here to help! In September, I’ll be speaking at Danielle Kaminski’s Makers & Shakers Conference, and I’ll be talking all about taking better product photos with your phone. So I wanted to give you a resource to get you started!
3 Keys to Consistent Product Photos
1. Lighting
Lighting is the number one step to consistent photography. If you have great light, you won’t have to spend a ton of time editing and your photos will naturally look better. The kind of light you’re looking for is:
- Clean
- Even
- Bright
Finding Clean Light
What do I mean by clean light? By clean photographers usually mean the whites or the skin tones. For product photos, you don’t have to worry about skin tones so we just need to think about whites. To have clean light means that your whites look white.
The easiest way to get clean light in your home is to use natural light, like window light. Some light bulbs in homes give off a warm or orange hue, and some give off a cool or blue hue. So it’s best to find a window and put yoursetup in fron tof that!
You also want to make sure there aren’t too many color casts affecting the light. A color cast is when another object somewhere off to the side of your setup casts a color onto your subject. This could be something like blue walls in your kitchen or a red scarf you might be wearing. When you’re shooting outdoors, the most common one is a green color cast from the grass. So it’s best to find a clean, monochromatic spot or just a place without color casts. If you don’t have a place like this in your home you can setup a simple backdrop with some poster boards and a sheet.
Finding Even Light
Next, you need even light! By even light, I mean that there aren’t too many spots that are too bright or too dark. In photography, we call the bright spots the highlights and the dark spots the shadows. You don’t want too many “hot spots” (like if your window has blinds and it’s brighter where the light is showing through). You also don’t want too many shadows. So look for light that has even, consistent light. Usually shooting with a window off to the side will achieve this! Just watch out for shadows that you might cast by standing over your product setup. You really just need to pay attention to this & do some trial & error to achieve even light.
Finding Bright Light (but not too bright)
Your light also needs to be pretty bright, but not harsh. You’ll get harsh light if your room inside is dark and the light coming in is very bright. I often find that the best place to take photos is on a porch or in a room that has a lot of window light. If you’re shooting with natural light, it’s best to make sure you shoot during the day.
A word about artifical light
If you can’t shoot during the day, you’ll need to create an artificial light setup. Oftentimes, photographers will do this anyway because sometiems the light outside can look different from day to day. If you want to use artifical light, that’s totally fine! Just make sure that again, your light is even and doesn’t have a ton of shadows. You may need to add a second light to avoid shadows. Just move the lights around until you get even light on your product. You’ll also want to think about the temperature or color of the light. Most ring lights you purchase will have the option to go warmer (more orange/yellow) or cooler (more blue), so choose the right setting to where your whites look white when you’re photographing them.
To have consistent photos, try to use the same setup for each photo and try to shoot at the same time of day each time you’re photographing. That’s why people will usually photograph a bunch of products at once so that they look consistent!
2. Composition
Since lighting is the absolutely most important aspect of photographer, that point will be the longest. The next two will be shorter. The second thing to consider is composition. This is just the way you arrange the objects in the frame of the photo. For product photos, it’s usually best to place your product right in the center. Composition can get a lot more technical and we can talk about things like the “rule of thirds,” but for products, simple is best so keep it in the center most of the time.
One big thing to think about with composition is having straight lines. If your backdrop has lines, make sure that you straighten your product to the lines so that there’s no competing lines.
Also, avoid taking crooked photos. Look for a straight line in your image and crop the image afterwards when you’re editing to make sure it’s straight.
You can vary your composition by focusing on different angles of the product. Take a wide shot where you can see the whole product and then take a close up to show the details!
When it comes to consistency, do some trial & error to figure out what you like best, and then take your photos the same way every time.
3. Editing
The final key to taking consistent product photos is editing. If you have your lighting and composition nailed down, the editing will be a breeze. But sometimes you do need to do some backend editing. When you’re editing, I think it’s best to edit in an app like Lightroom as opposed to using a filter.
Lightroom Mobile is free and really easy to use. If you need help understanding Lightroom Mobile, check out a video I made explaining the LR Mobile Tools HERE.
I also made a video on how to edit Product Photos Consistently on LR Mobile and you can watch that HERE.
The biggest way to make your editing consistent, is to go for that clean light we talked about. Make sure your whites look white and not orange or blue. So for this, you’re going to focus on the temperature slider and the tint slider. The great thing about having the option to edit your photos is that if your light wasn’t perfectly consistent when you took the photo, you can fix some of it in editing. But not all flaws can be fixed, and it can be pretty time consuming. So the best thing is to get the consistency down in camera.
Next, you always want to crop consistently for your product photos. Make sure those lines are straight, and think about the composition that you like and try to achieve that with cropping if you weren’t perfectly consistent when you were taking the photo (no one is!)
Join me at the Makers & Shakers Conference
And there you have it! The 3 Keys to Consistent Product Photos! I hope you’ll join me at the Makers & Shakers Conference to hear more details about taking consistent product photos. We’ll go more in depth into each of these categories and we will have some example setups! I’ll also be able to work with you directly on your phone to help you understand how to edit. See you then! You can grab your tickets HERE.
If you need more help with editing, just contact me! I’m happy to help!
Don’t forget to pin to Pinterest!