Step 1: Exporting your Catalog

- Pre-edit at least 5-10% of the images for me to use as guidelines for how the rest of the gallery should look
- It is helpful if the pre-edits are scattered throughout the gallery so I know how you would handle different lighting situations.
- Label your pre-edits with a color label. Leave the rest unflagged/gray. In this example, my pre-edits are red.
- Select all the images you want me to edit along with your pre-edits
- Go to File>Export as Catalog
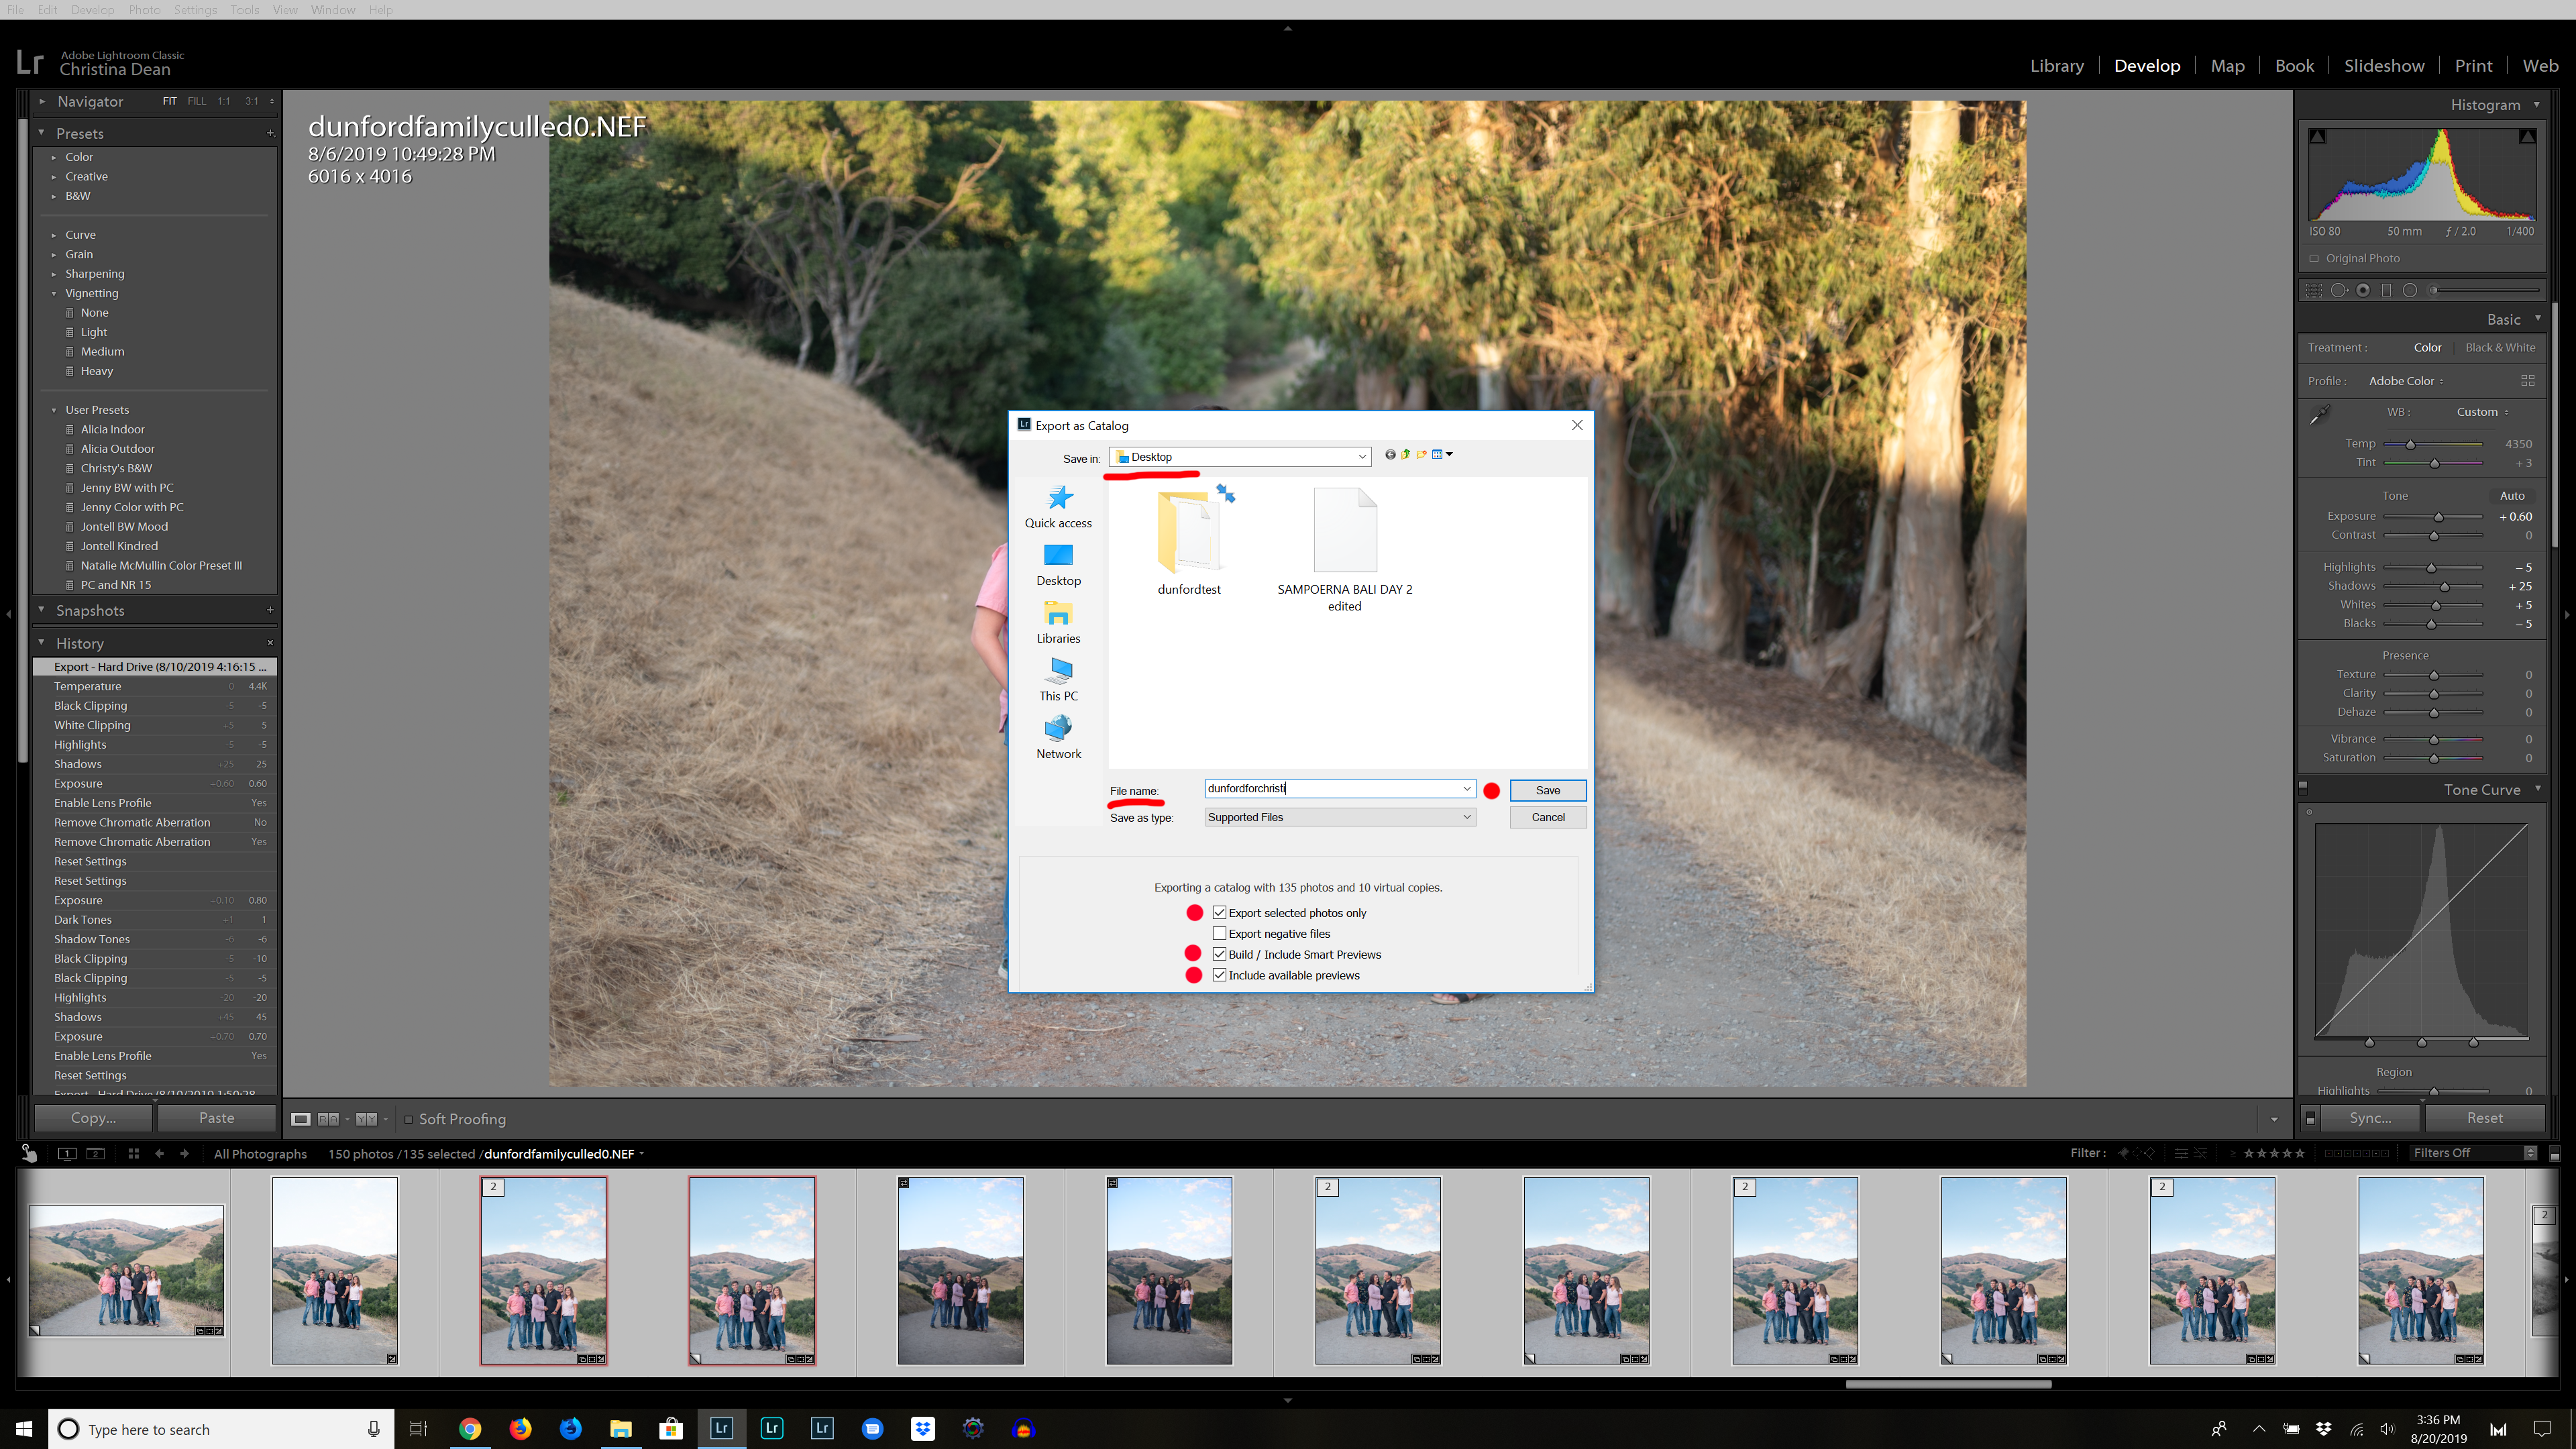
- In the dialog box, navigate to where you’d like to save your files
- Name the file whatever you want
- If prompted, check Export selected photos only (if you’ve selected all the images in a collection, you won’t receive this as an option)
- Uncheck “export negative files”
- Check Build/Include Smart Previews
- Check Include Available Previews
- Select “Save”

- Lightroom will begin preparing your files
- Be sure to leave your computer on/open so the export is not interrupted
- This can take anywhere from 5 minutes to an hour depending on how many images you are sending me. For these 135 images it took about 5 minutes.
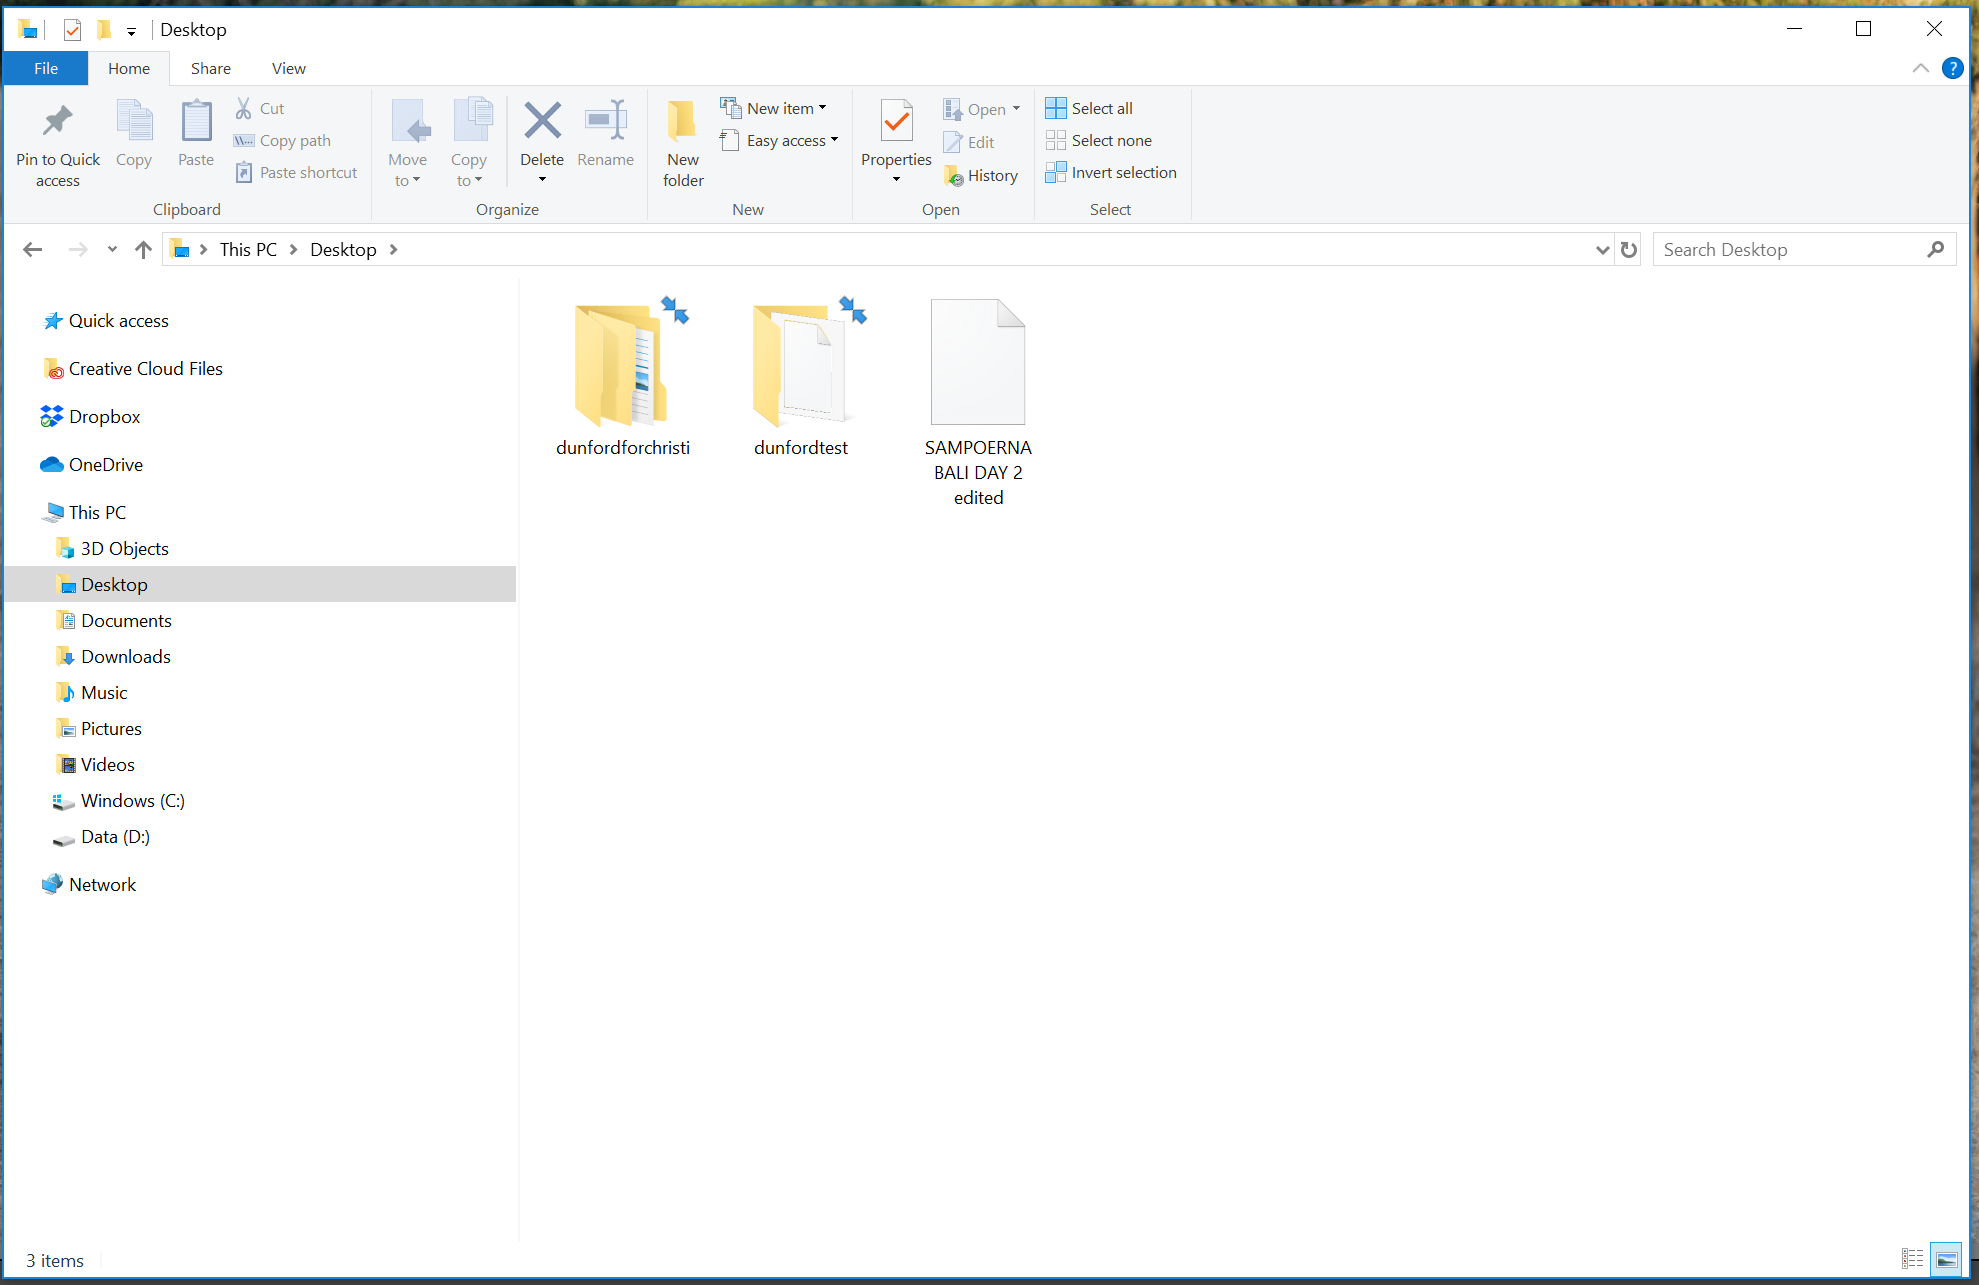
- When the export is complete, open your file explorer and navigate to the location where you saved the folder
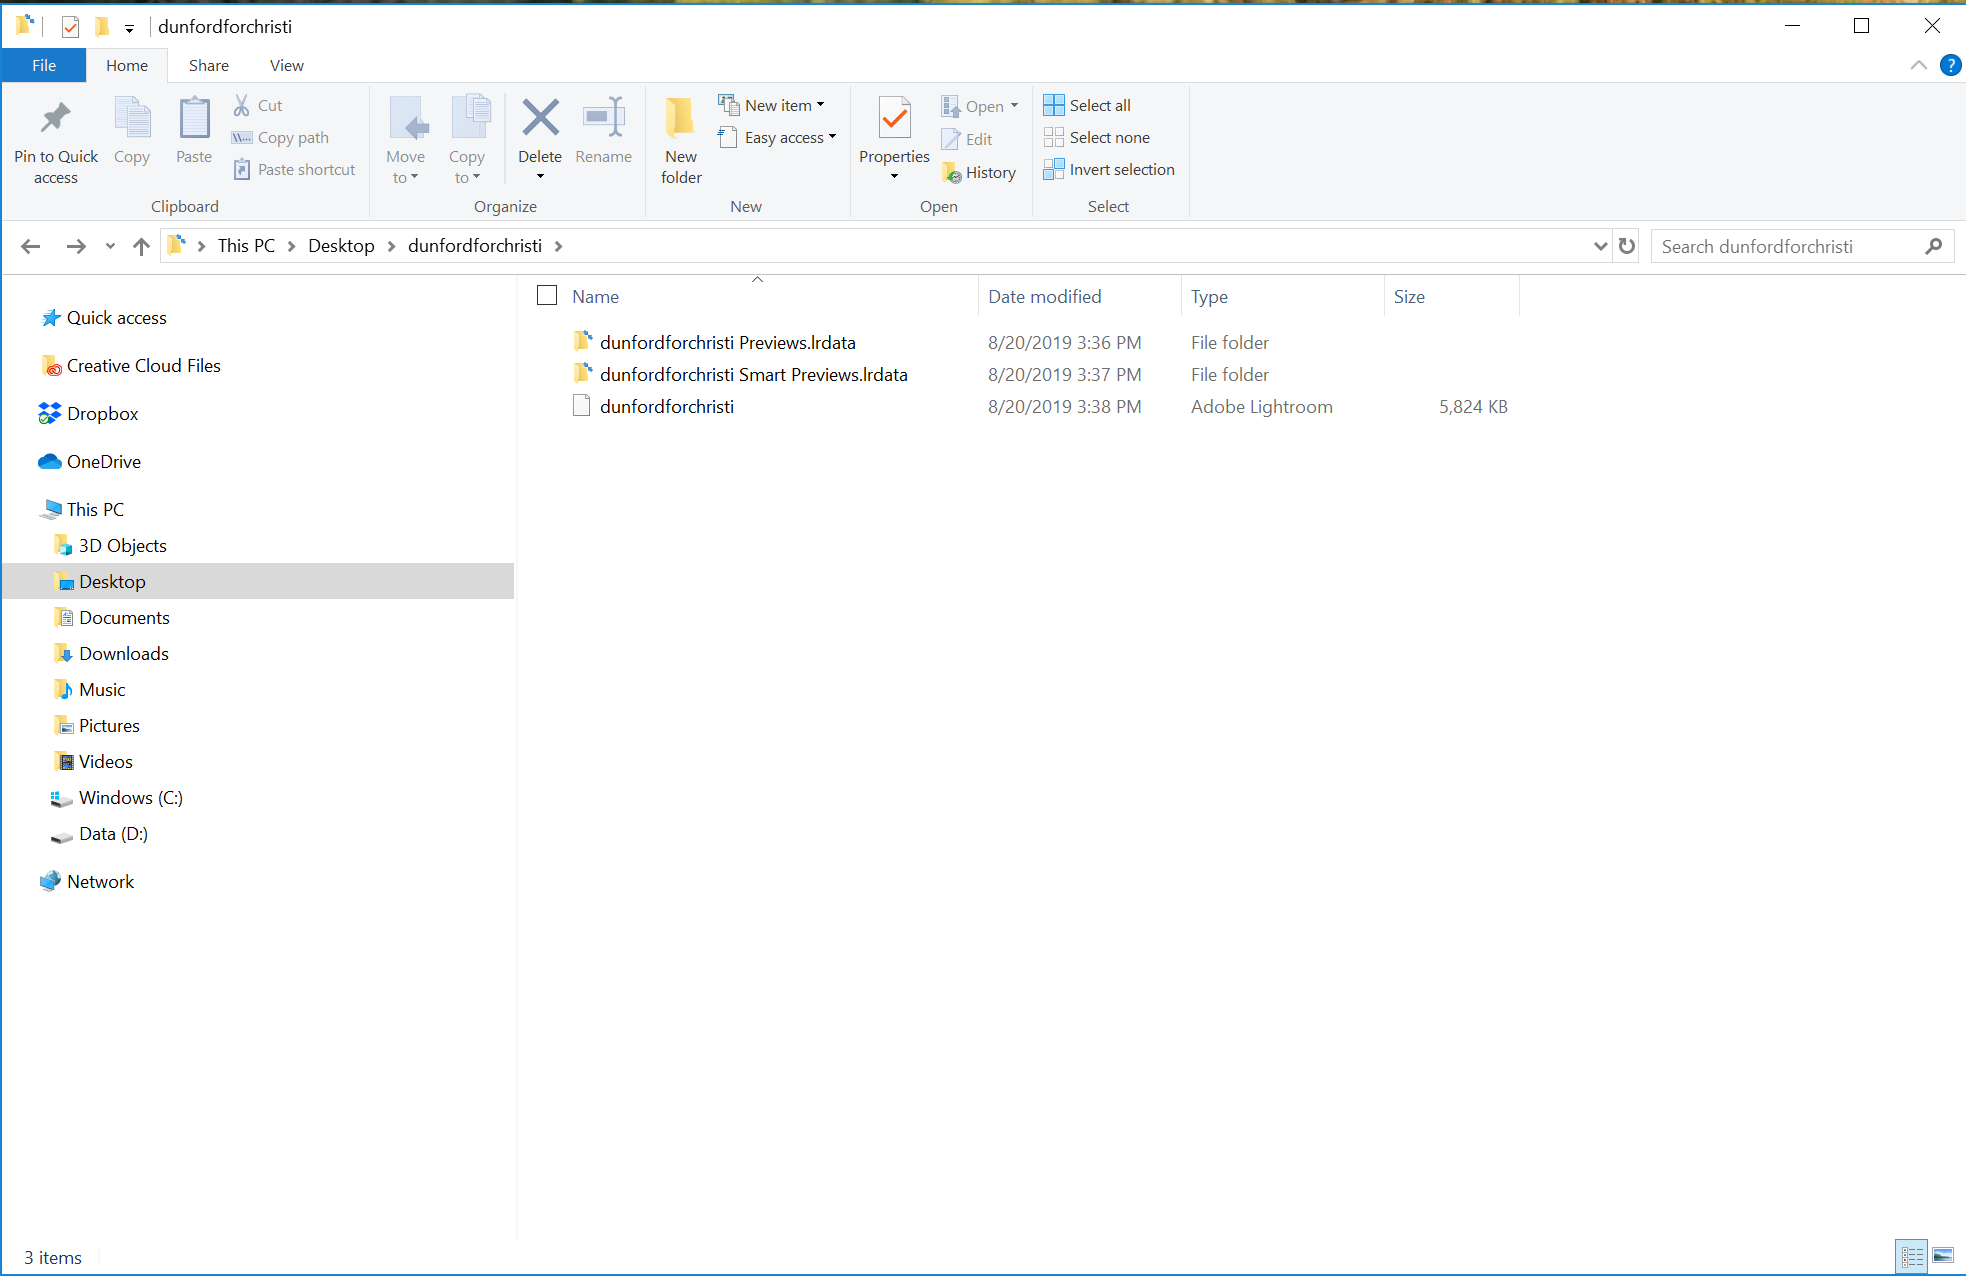
- Verify that there are 3 files/folders present: filename Previews.lrdata, filename Smart Previews.lrdata, and filename.lrcat
- In this case, the file extension of the .lrcat file is hidden, but you can see that the type is an Adobe Lightroom file.
- If the three files are not there, your export was interrupted and you will need to try again.
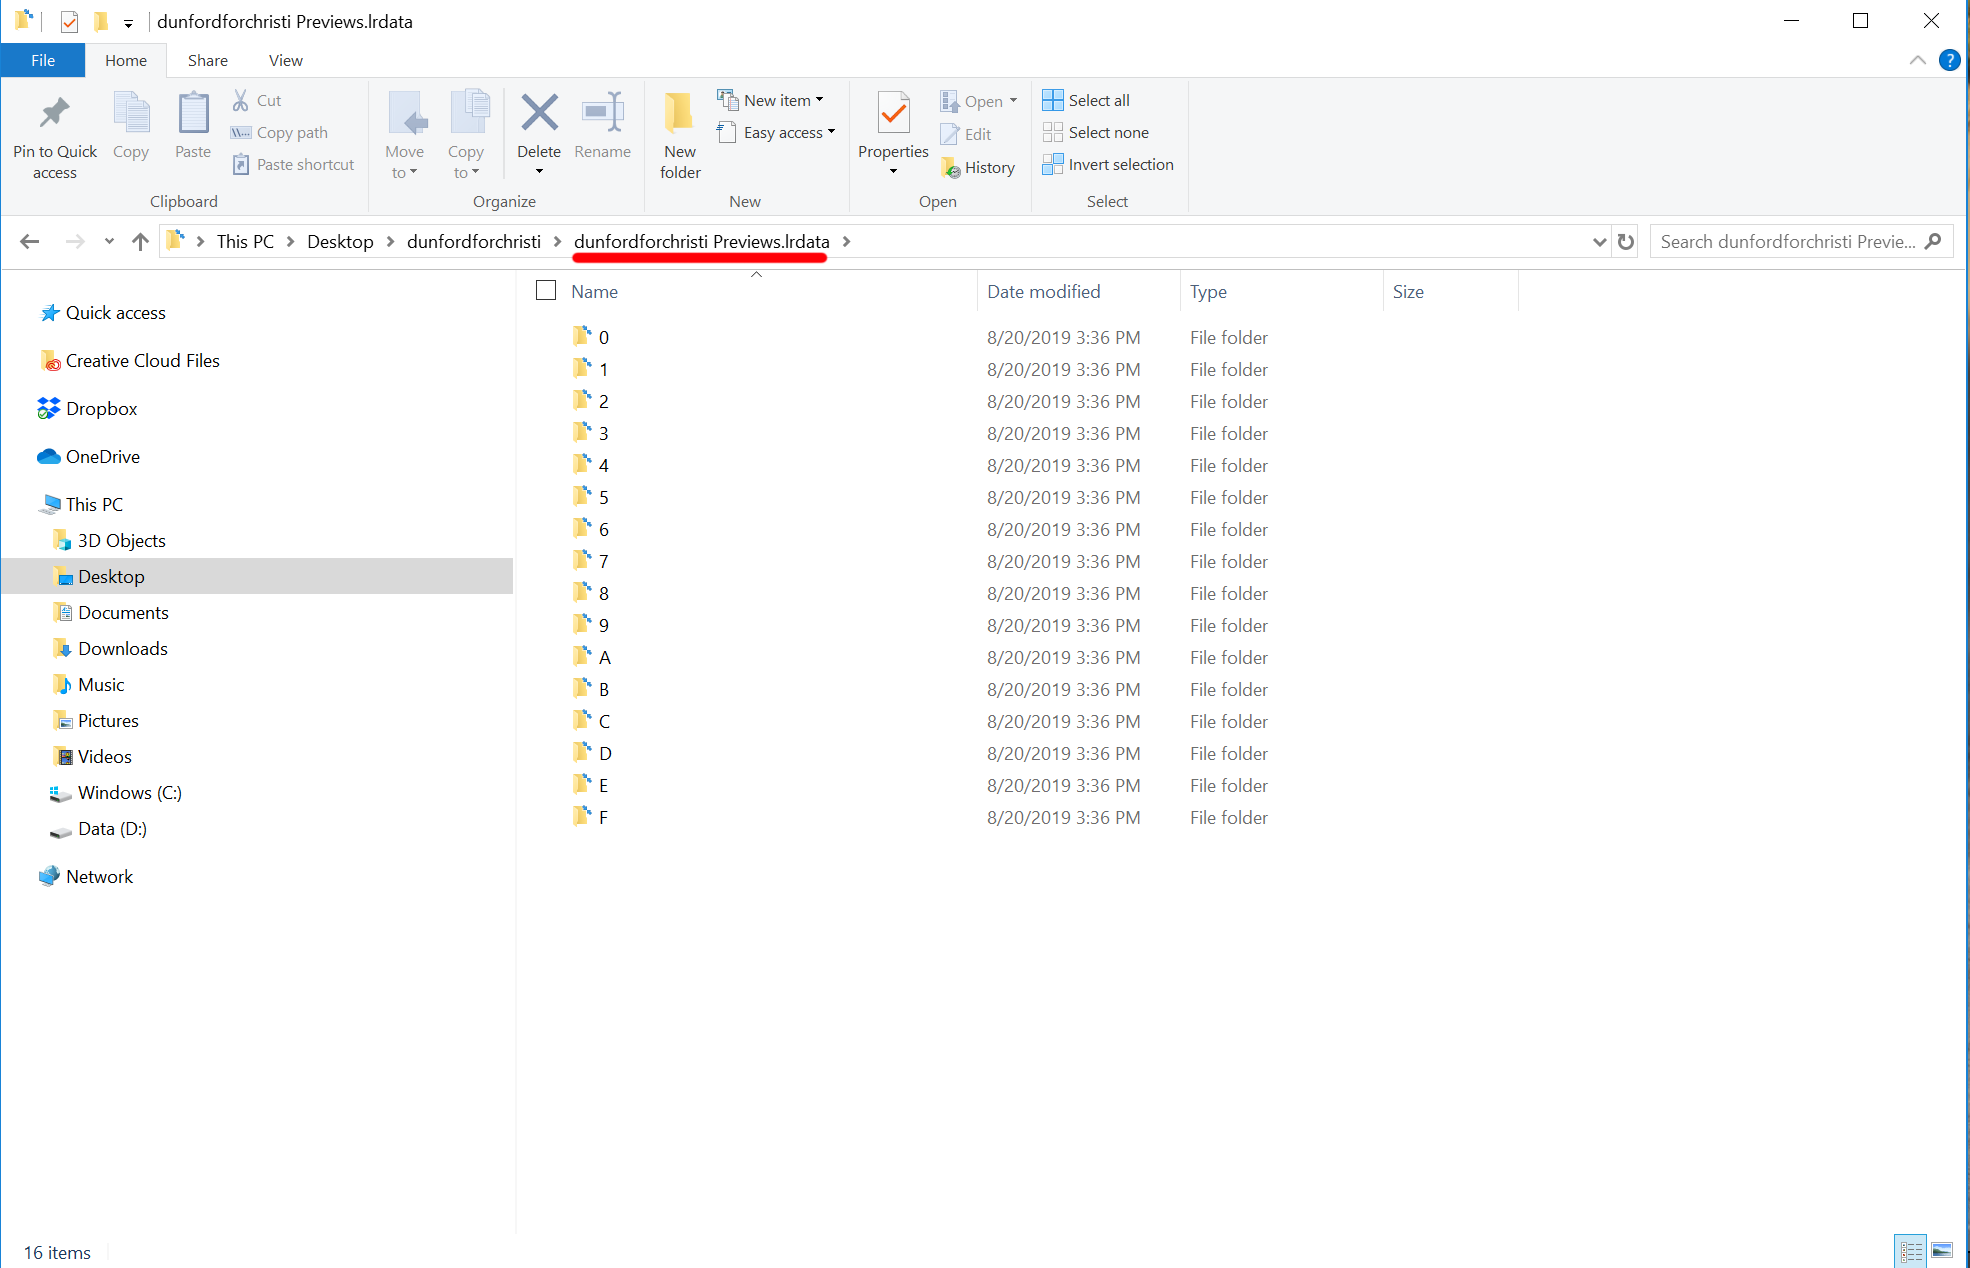
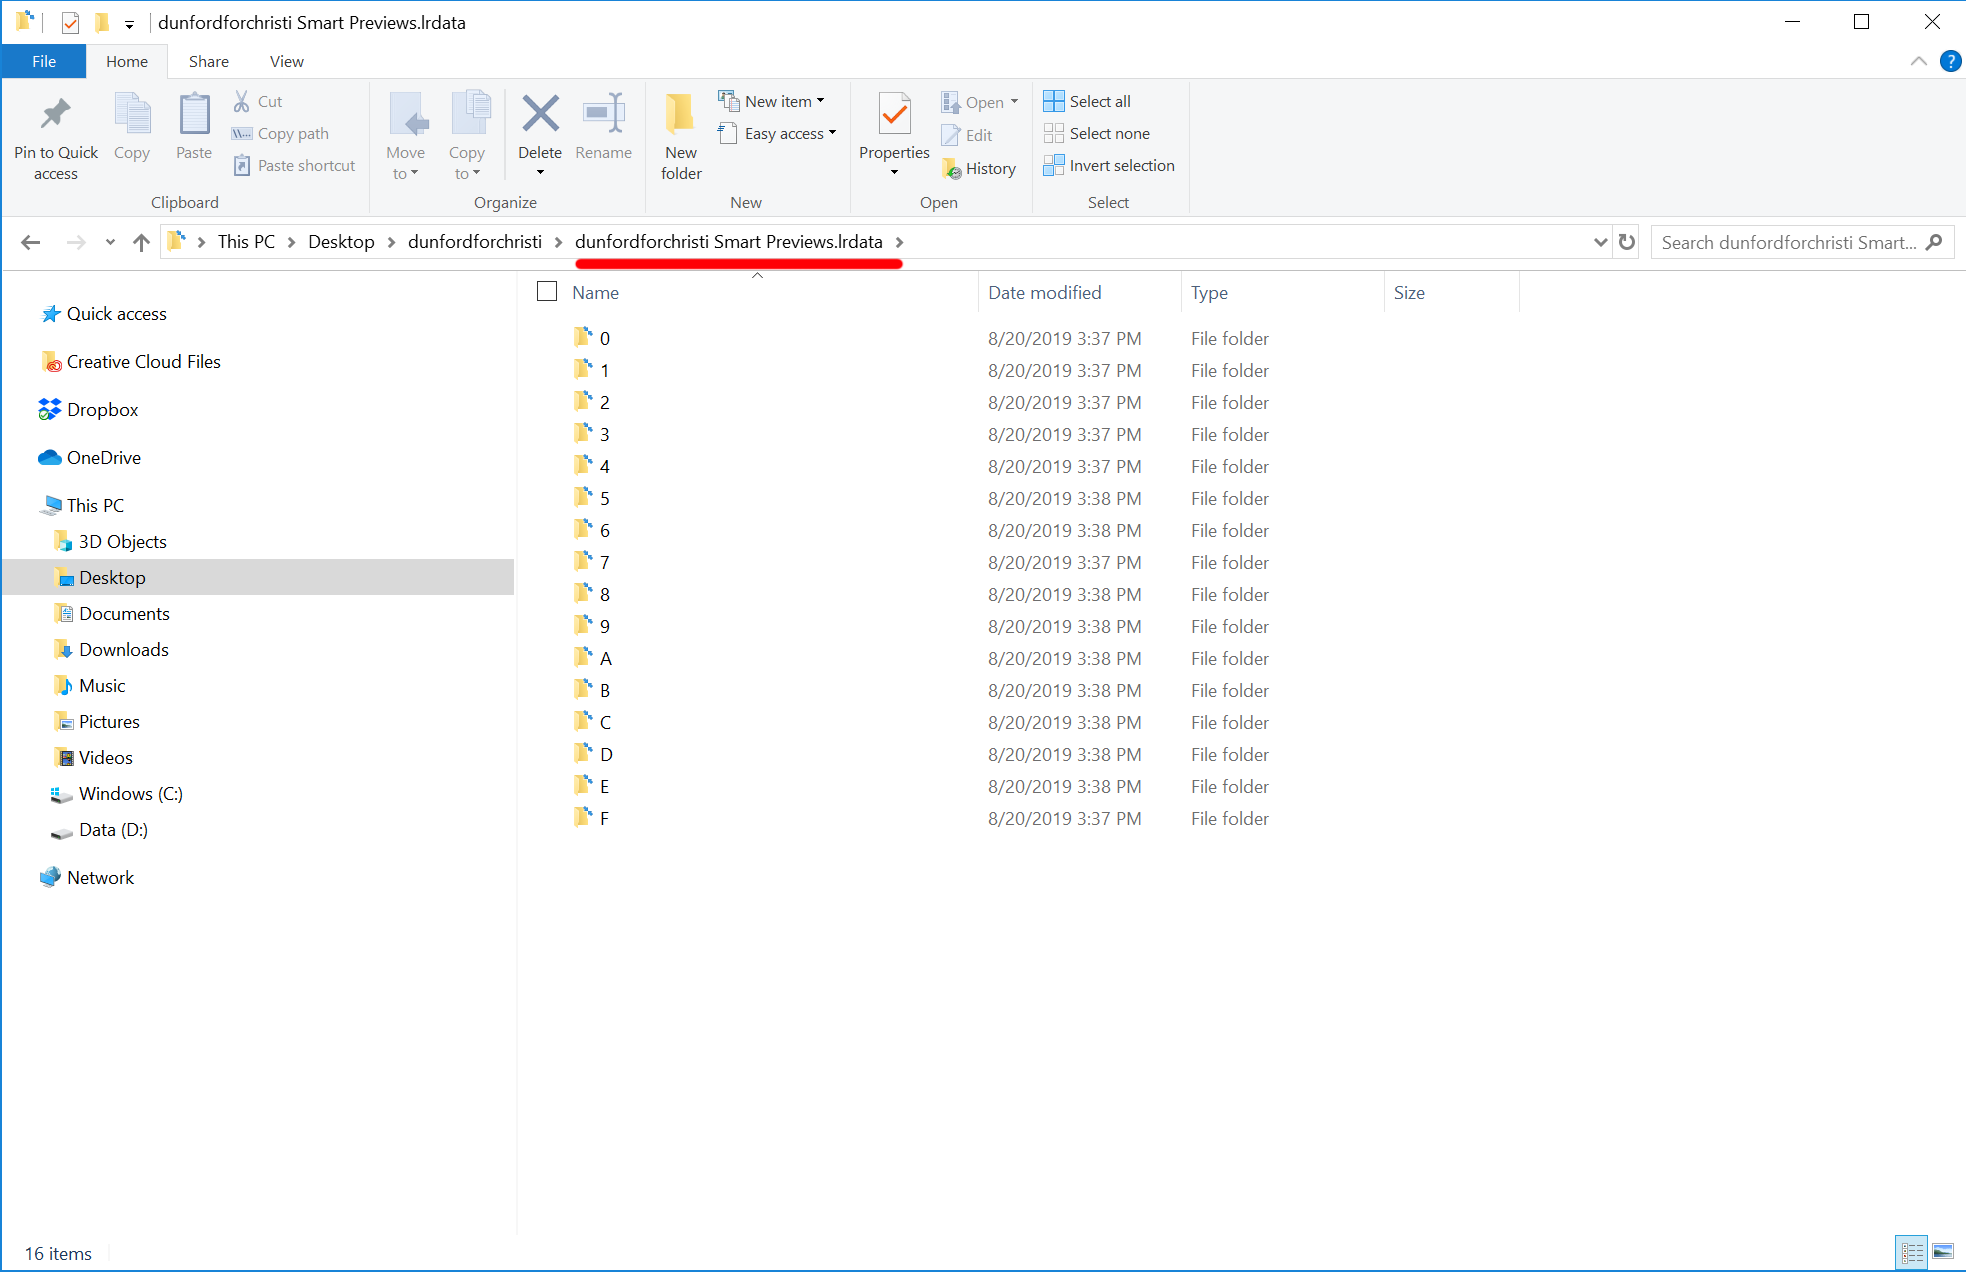
- As a sidenote, when you open the Previews and Smart Previews folders, you’ll notice a lot of folders inside. These folders contain the individual Smart Preview images and corresponding Previews I will use to edit your files. The Smart Previews are .dng files that are smaller versions of your images so we don’t have to share large .NEF, .CR2, or .TIFF files. Each folder will look the same, but their size will be different. You don’t need to worry about this with your export, but it’s just interesting to know. 🙂
Step 2: Uploading your Files
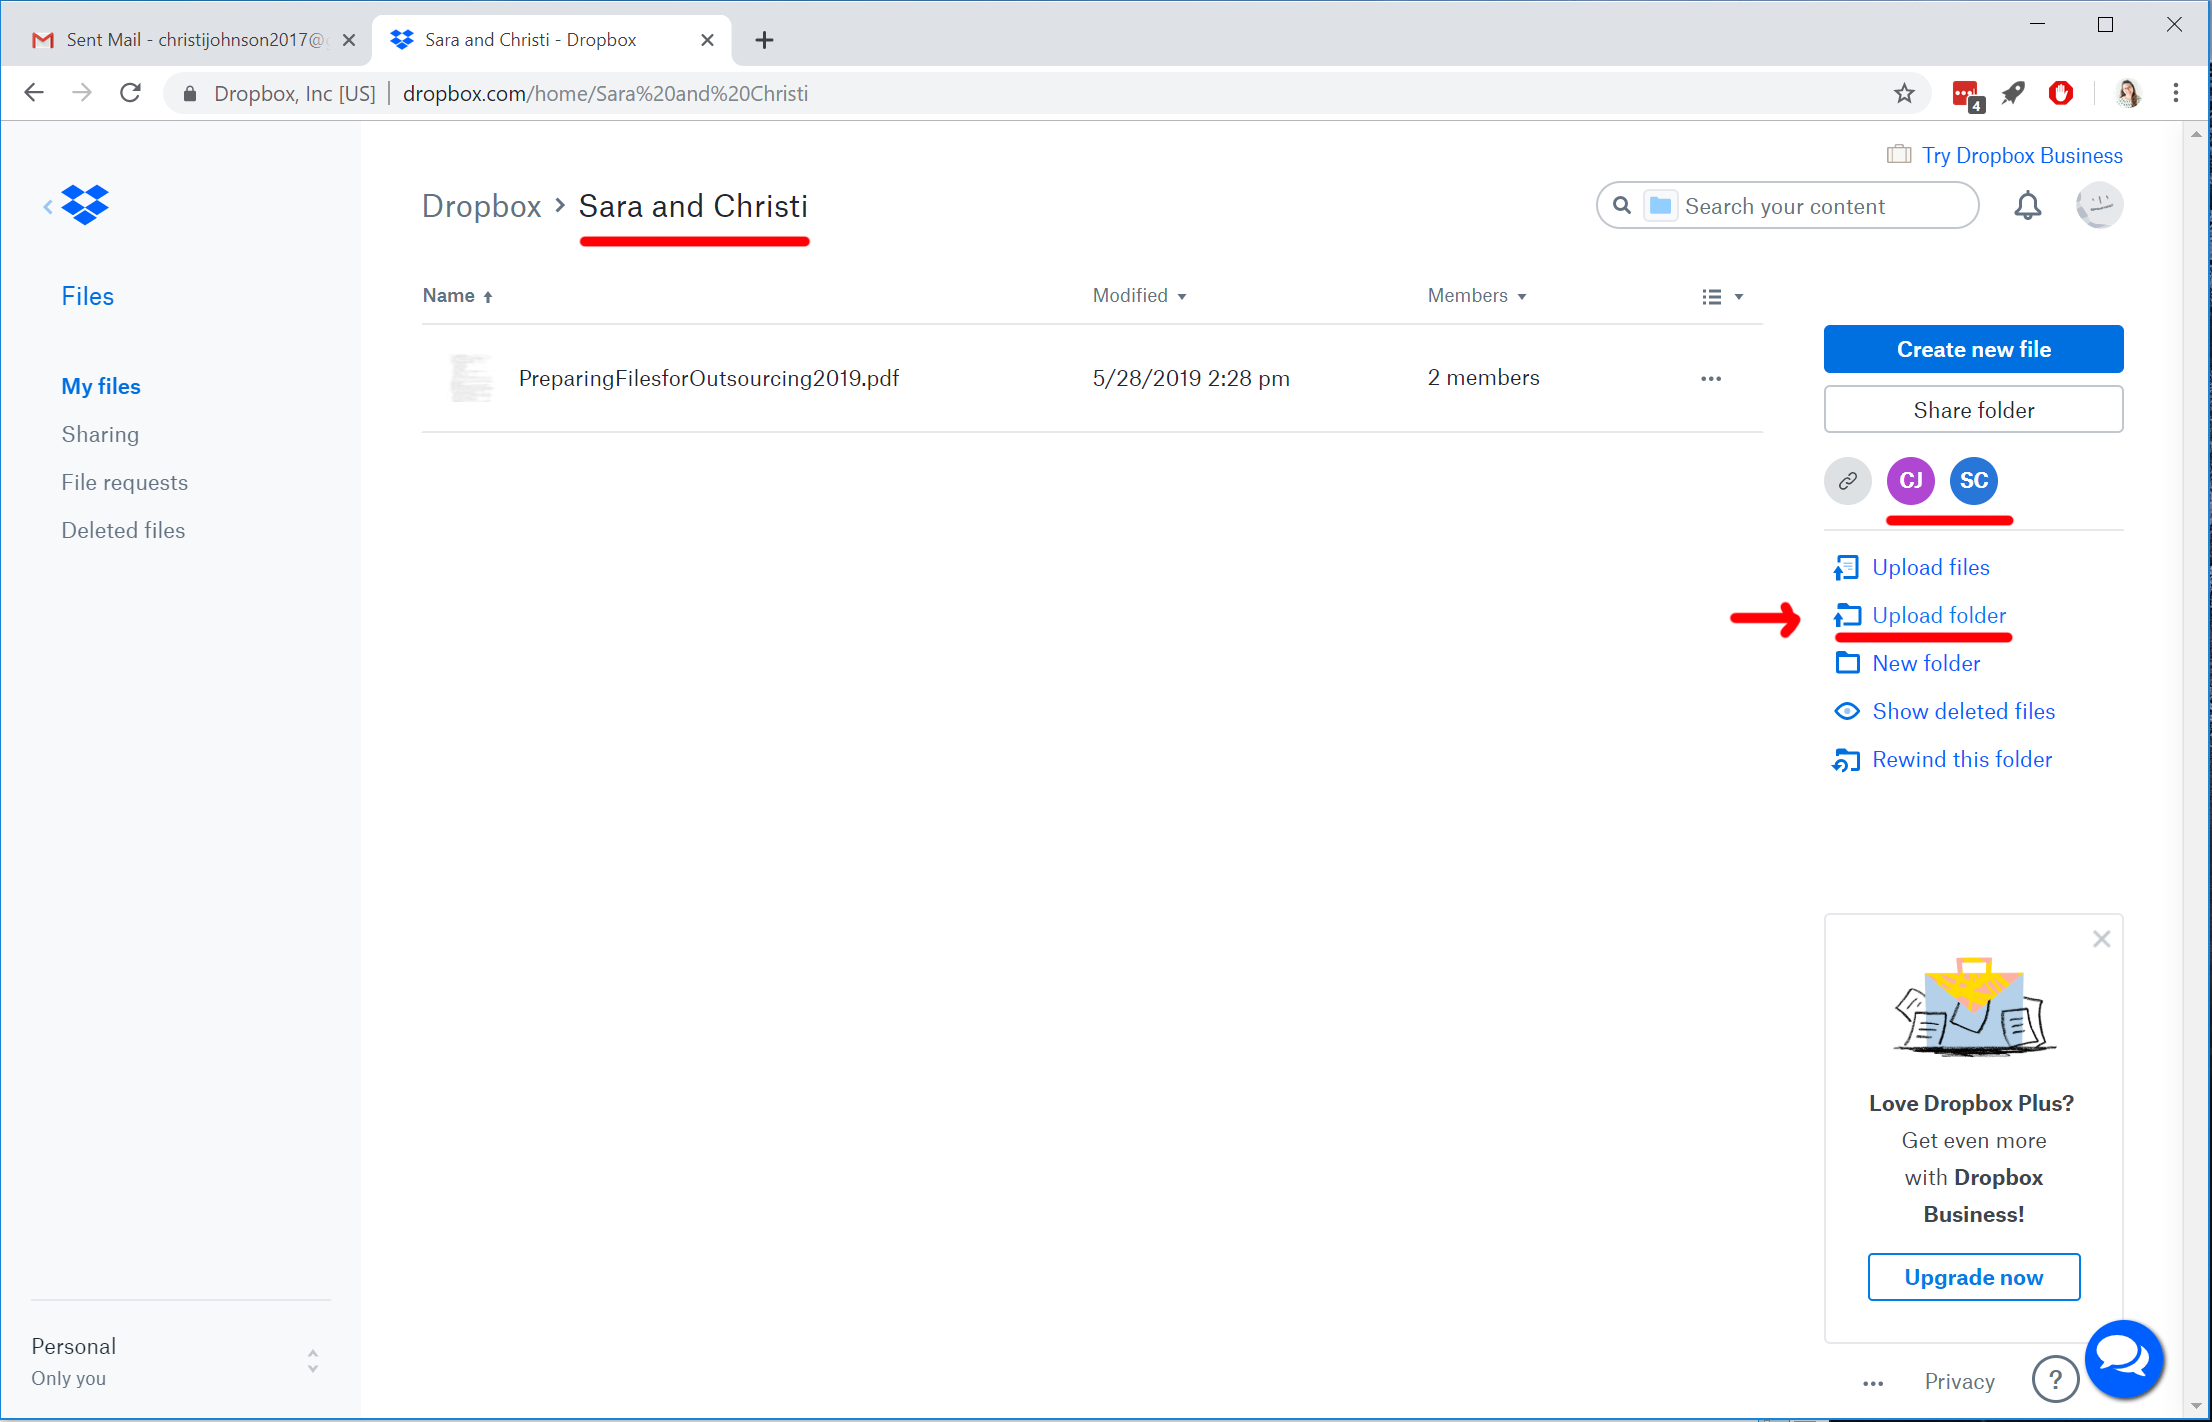
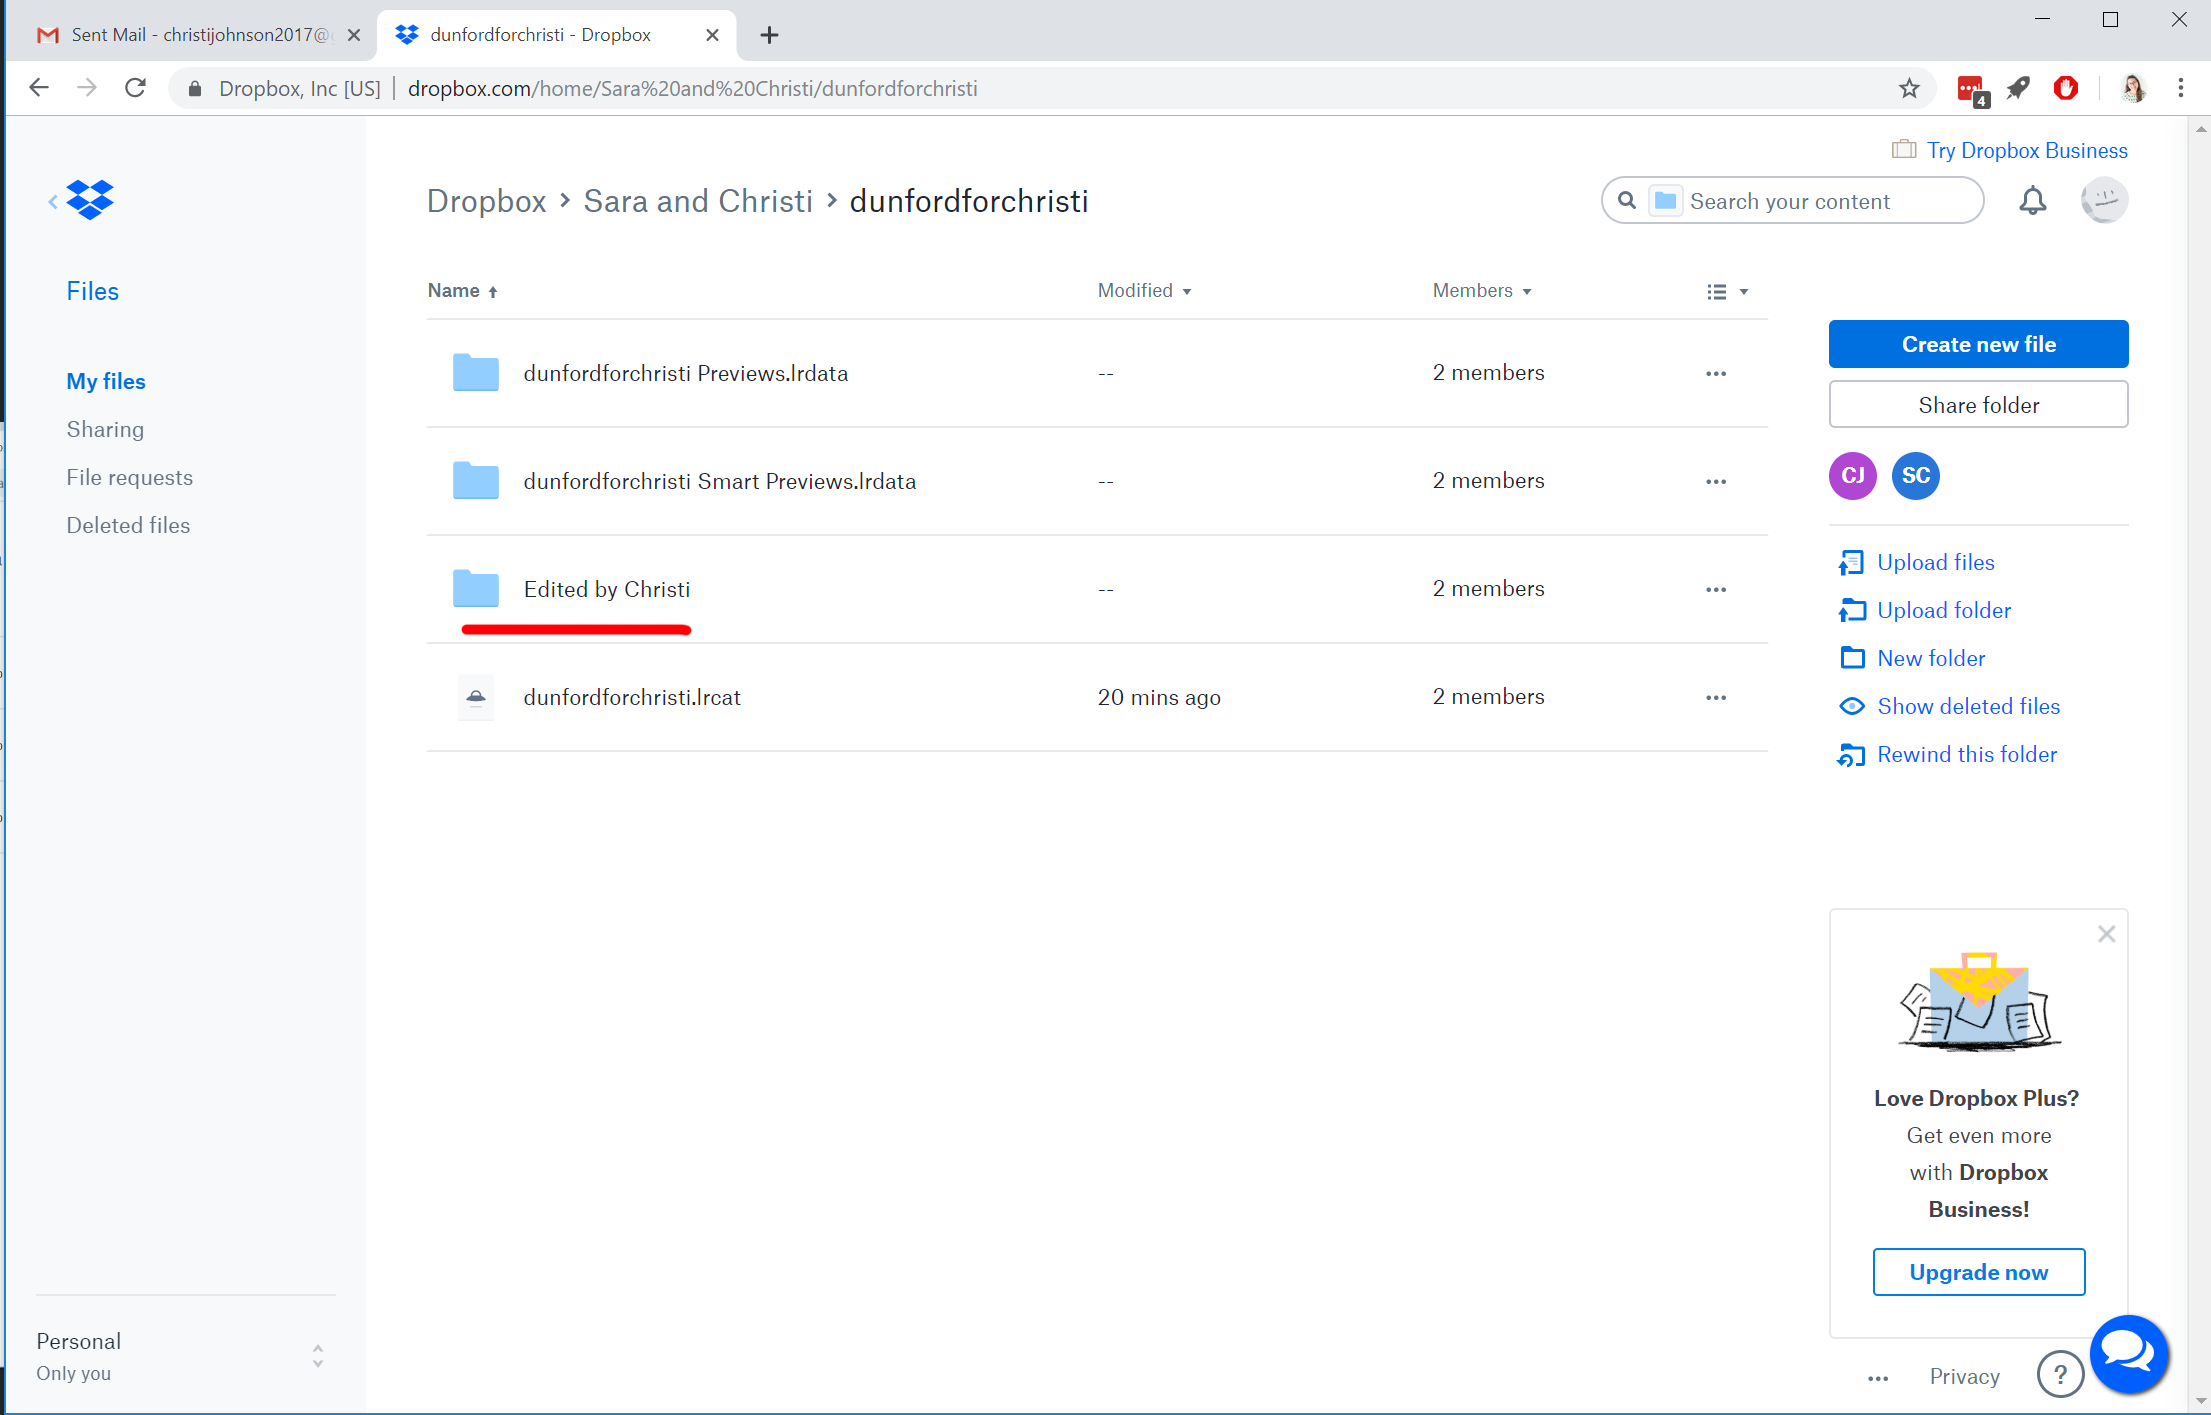
- Navigate to our shared Dropbox folder. It will be called your name and my name.
- On the right side, you should see my initials and your initials. This means we will both be able to see which files are added to the folder.
- Select “Upload Folder”
- If for some reason you don’t see the “upload folder” option, you can just navigate to your File Explorer, select the folder you want to upload, and drag it to the window of our shared Dropbox folder.
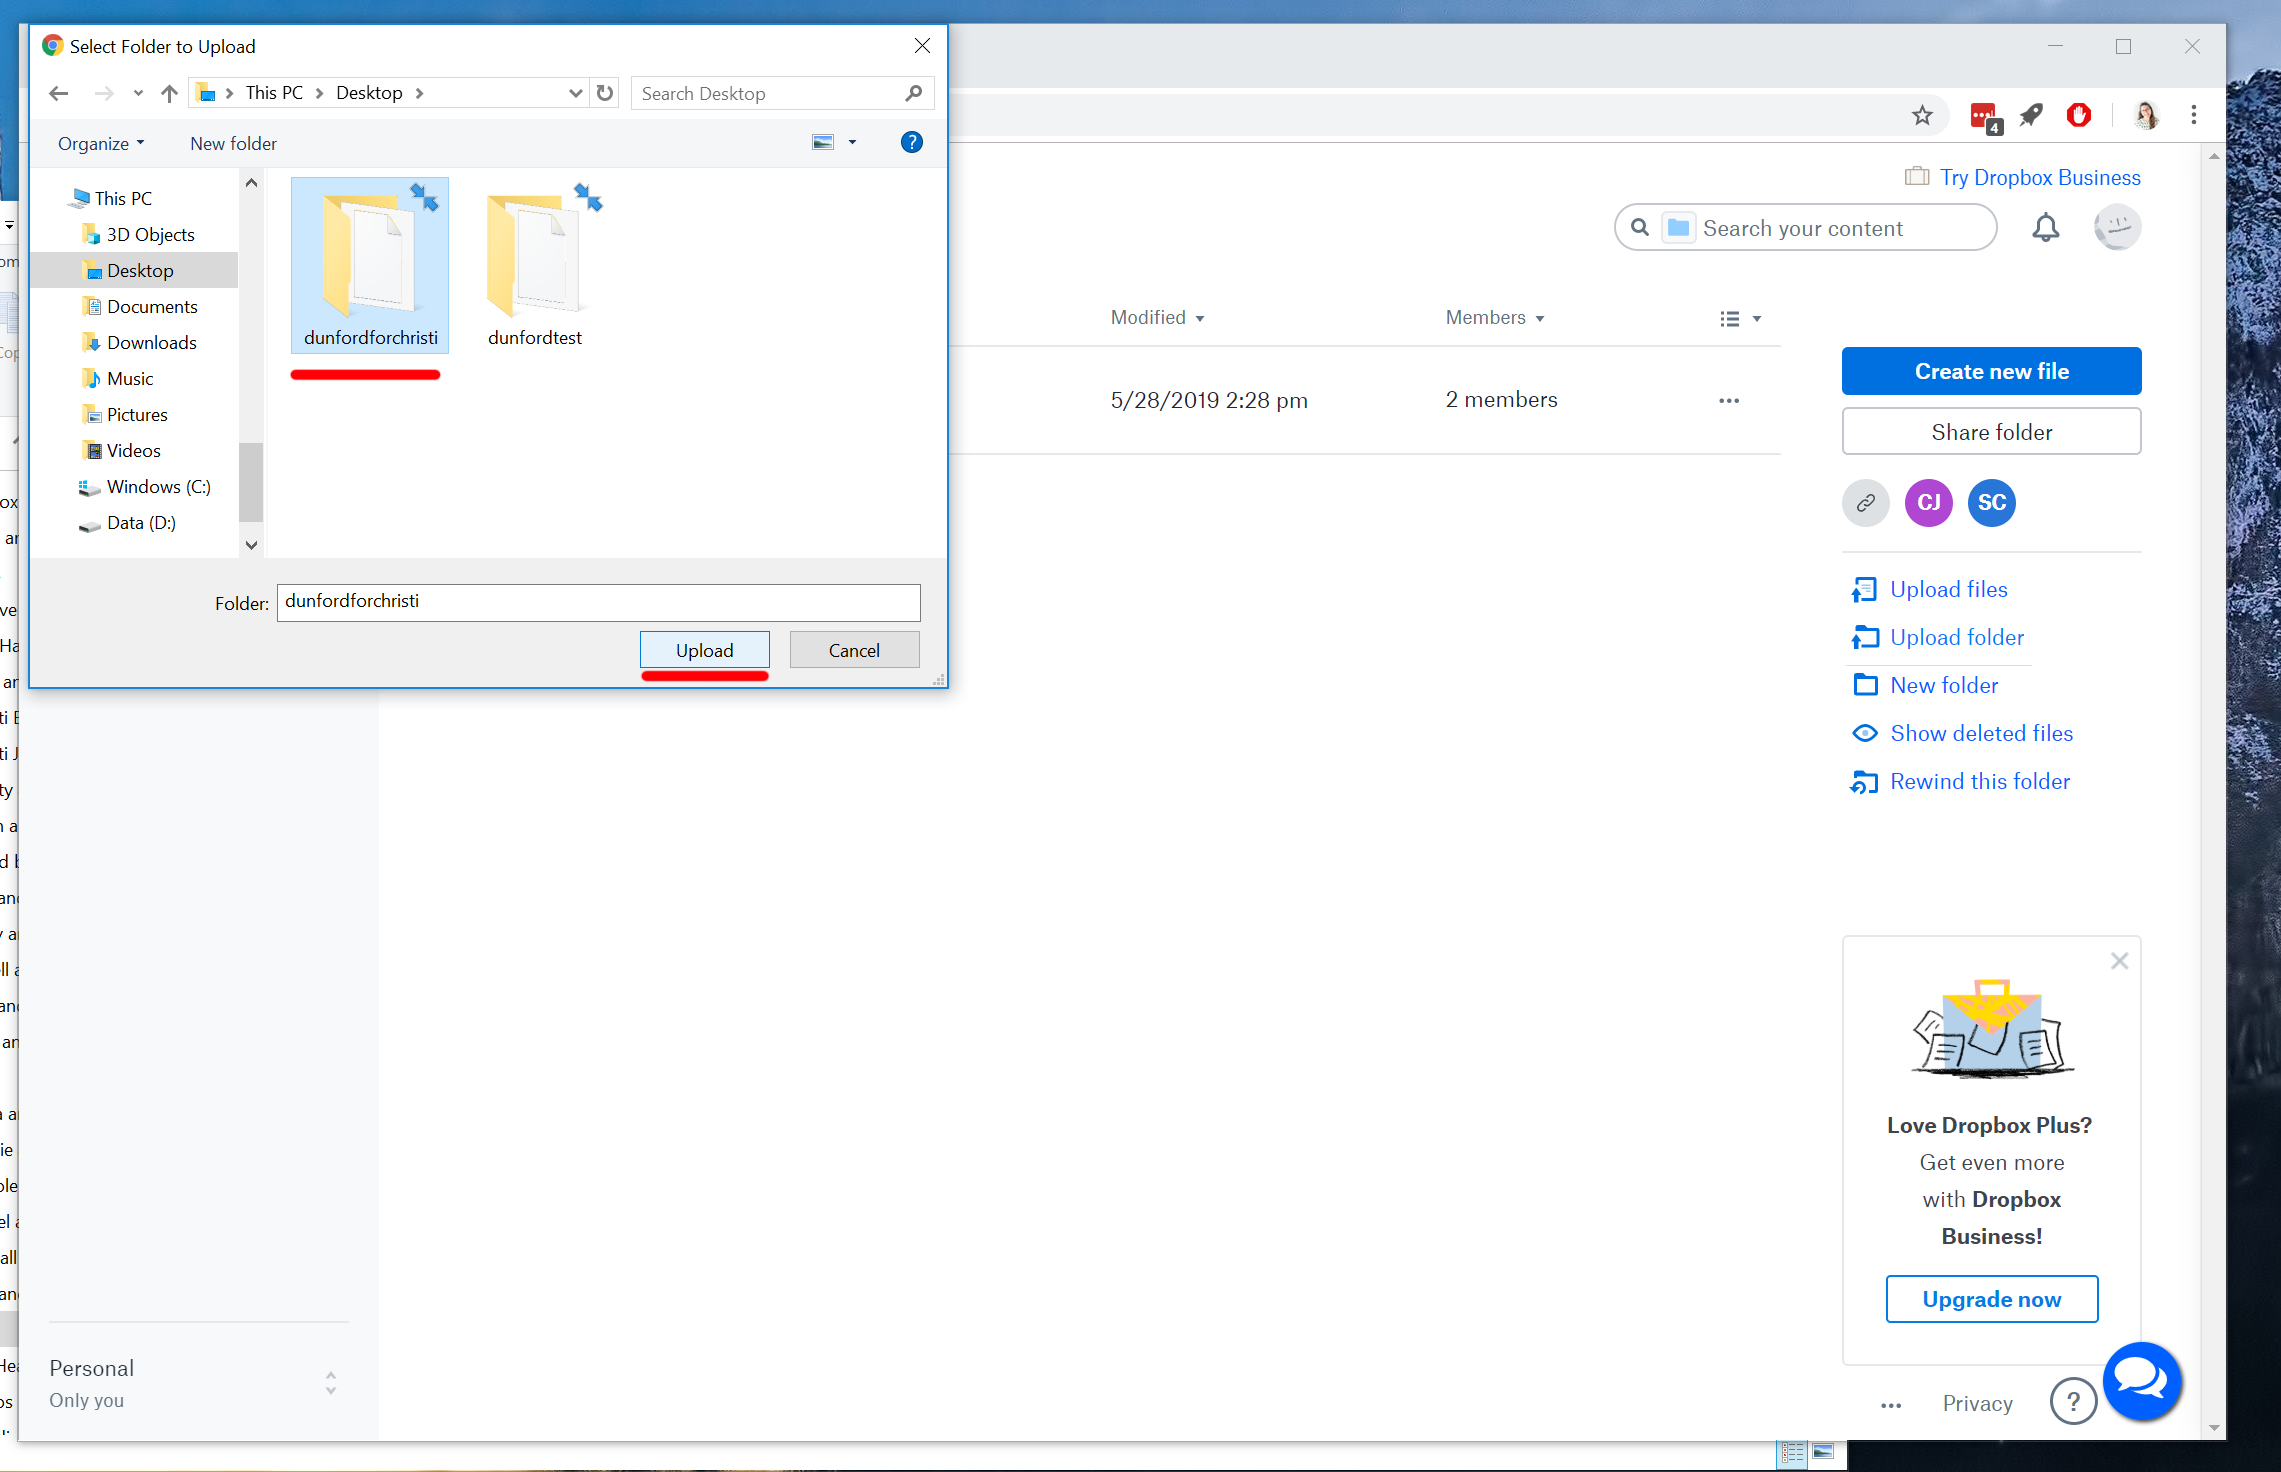
- Navigate to the folder you just exported and upload it
- As a side note: you are welcome to zip up the folder if you like. Zipping the folder will make the upload time faster and can help save space in your Dropbox account if you use the free version. I have had issues unzipping larger folders, so you can leave as is if you prefer.
- Sharing files via our shared Dropbox folder is the most efficient for my editing workflow. However, If your Dropbox account doesn’t have enough space for your folder, you can upload to Google Drive or another file sharing service and share the link with me.
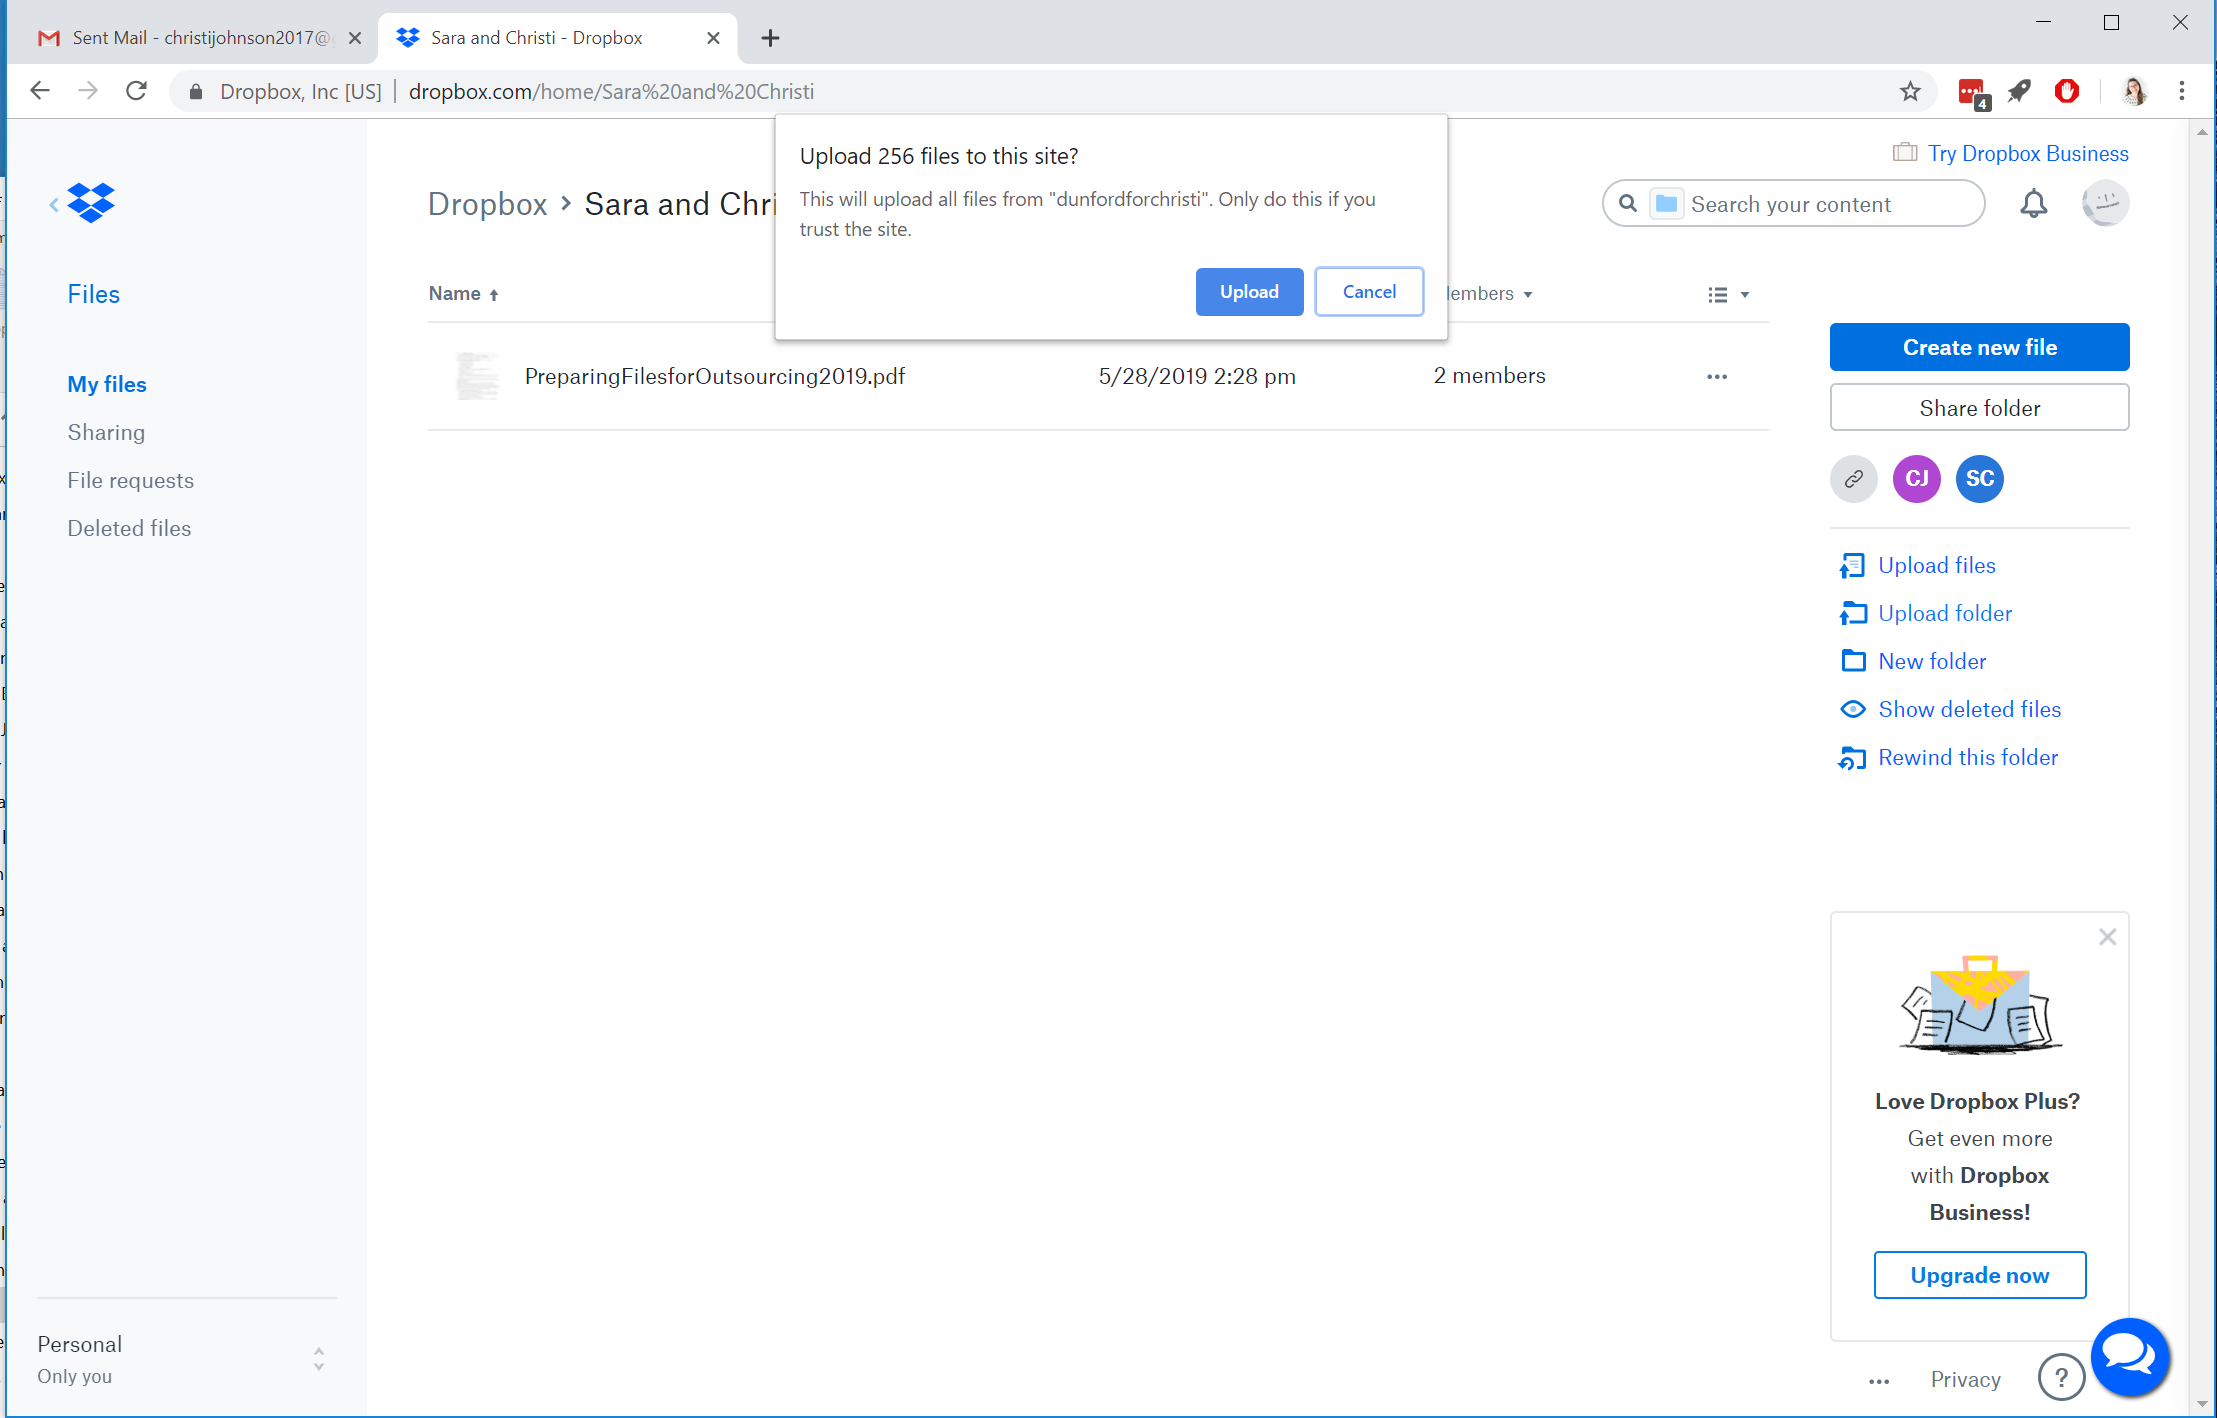
- If you receive this pop up window, go ahead and select upload. Note that the number of files should be close to 2 times the amount of images you exported. This is because each file will have a Smart Preview and a Preview file associated with it.
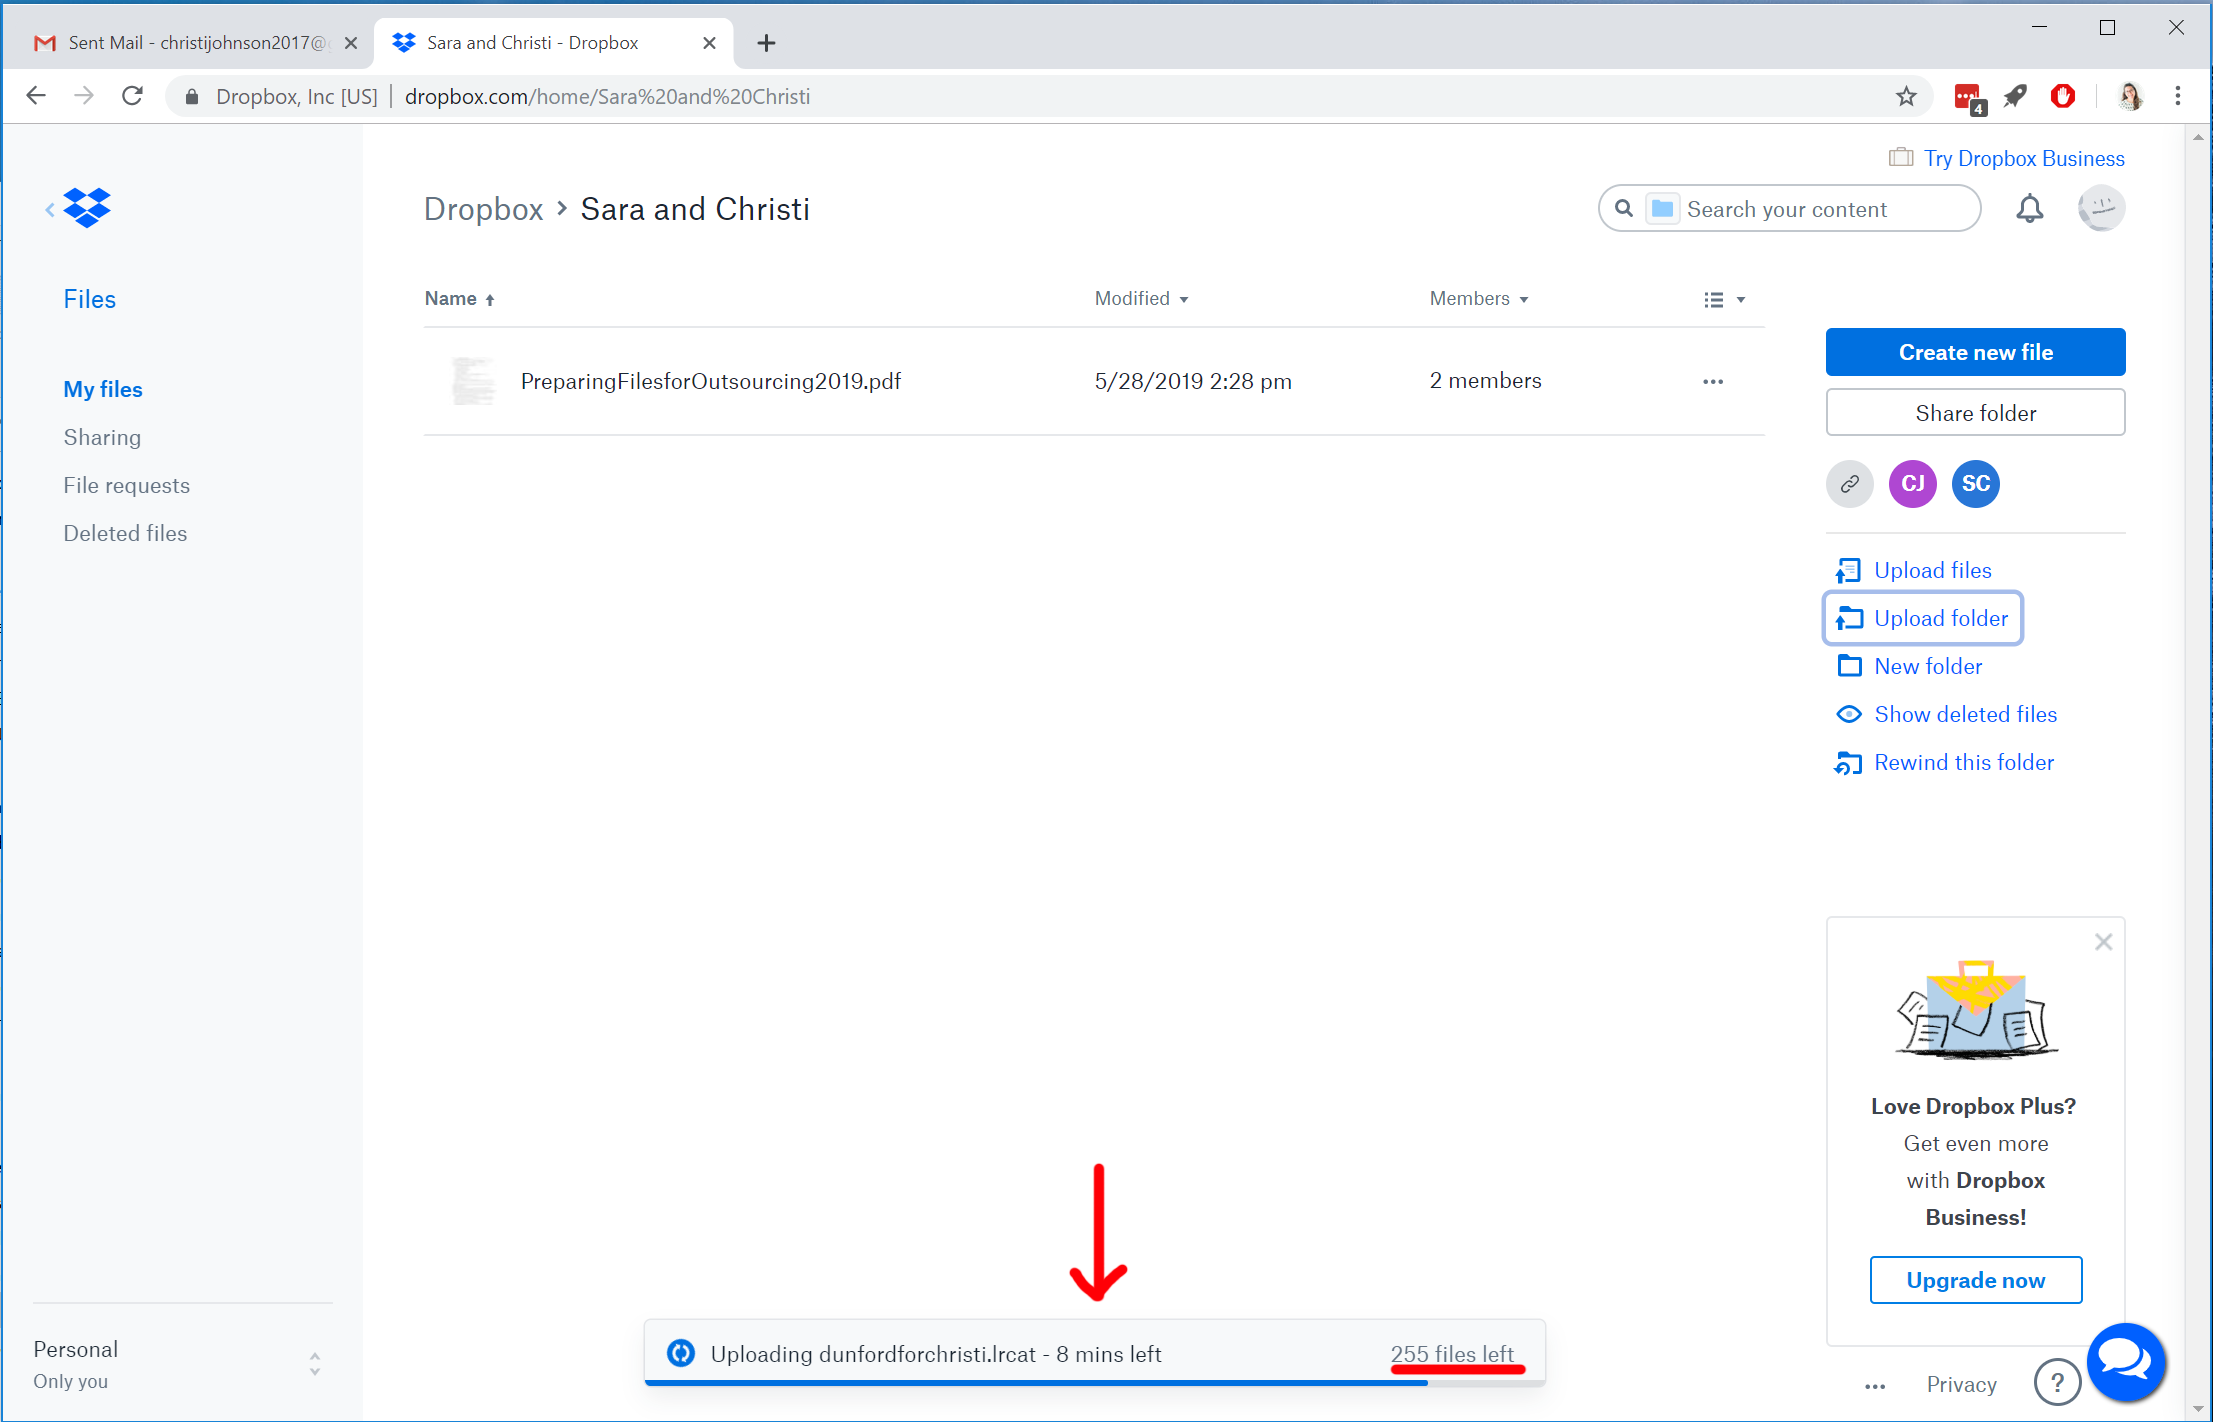
- Verify your upload is in progress and note how much time is left in the upload. The time will vary based on the size of your catalog and the speed of your internet connection. For larger events it could be up to a couple of hours, but smaller catalogs are usually under 10 minutes.
- Be sure your internet connection is stable and that you don’t close our window or turn off your computer until the upload is complete. Public wifi does not work well for uploading as it is often slow and patchy.
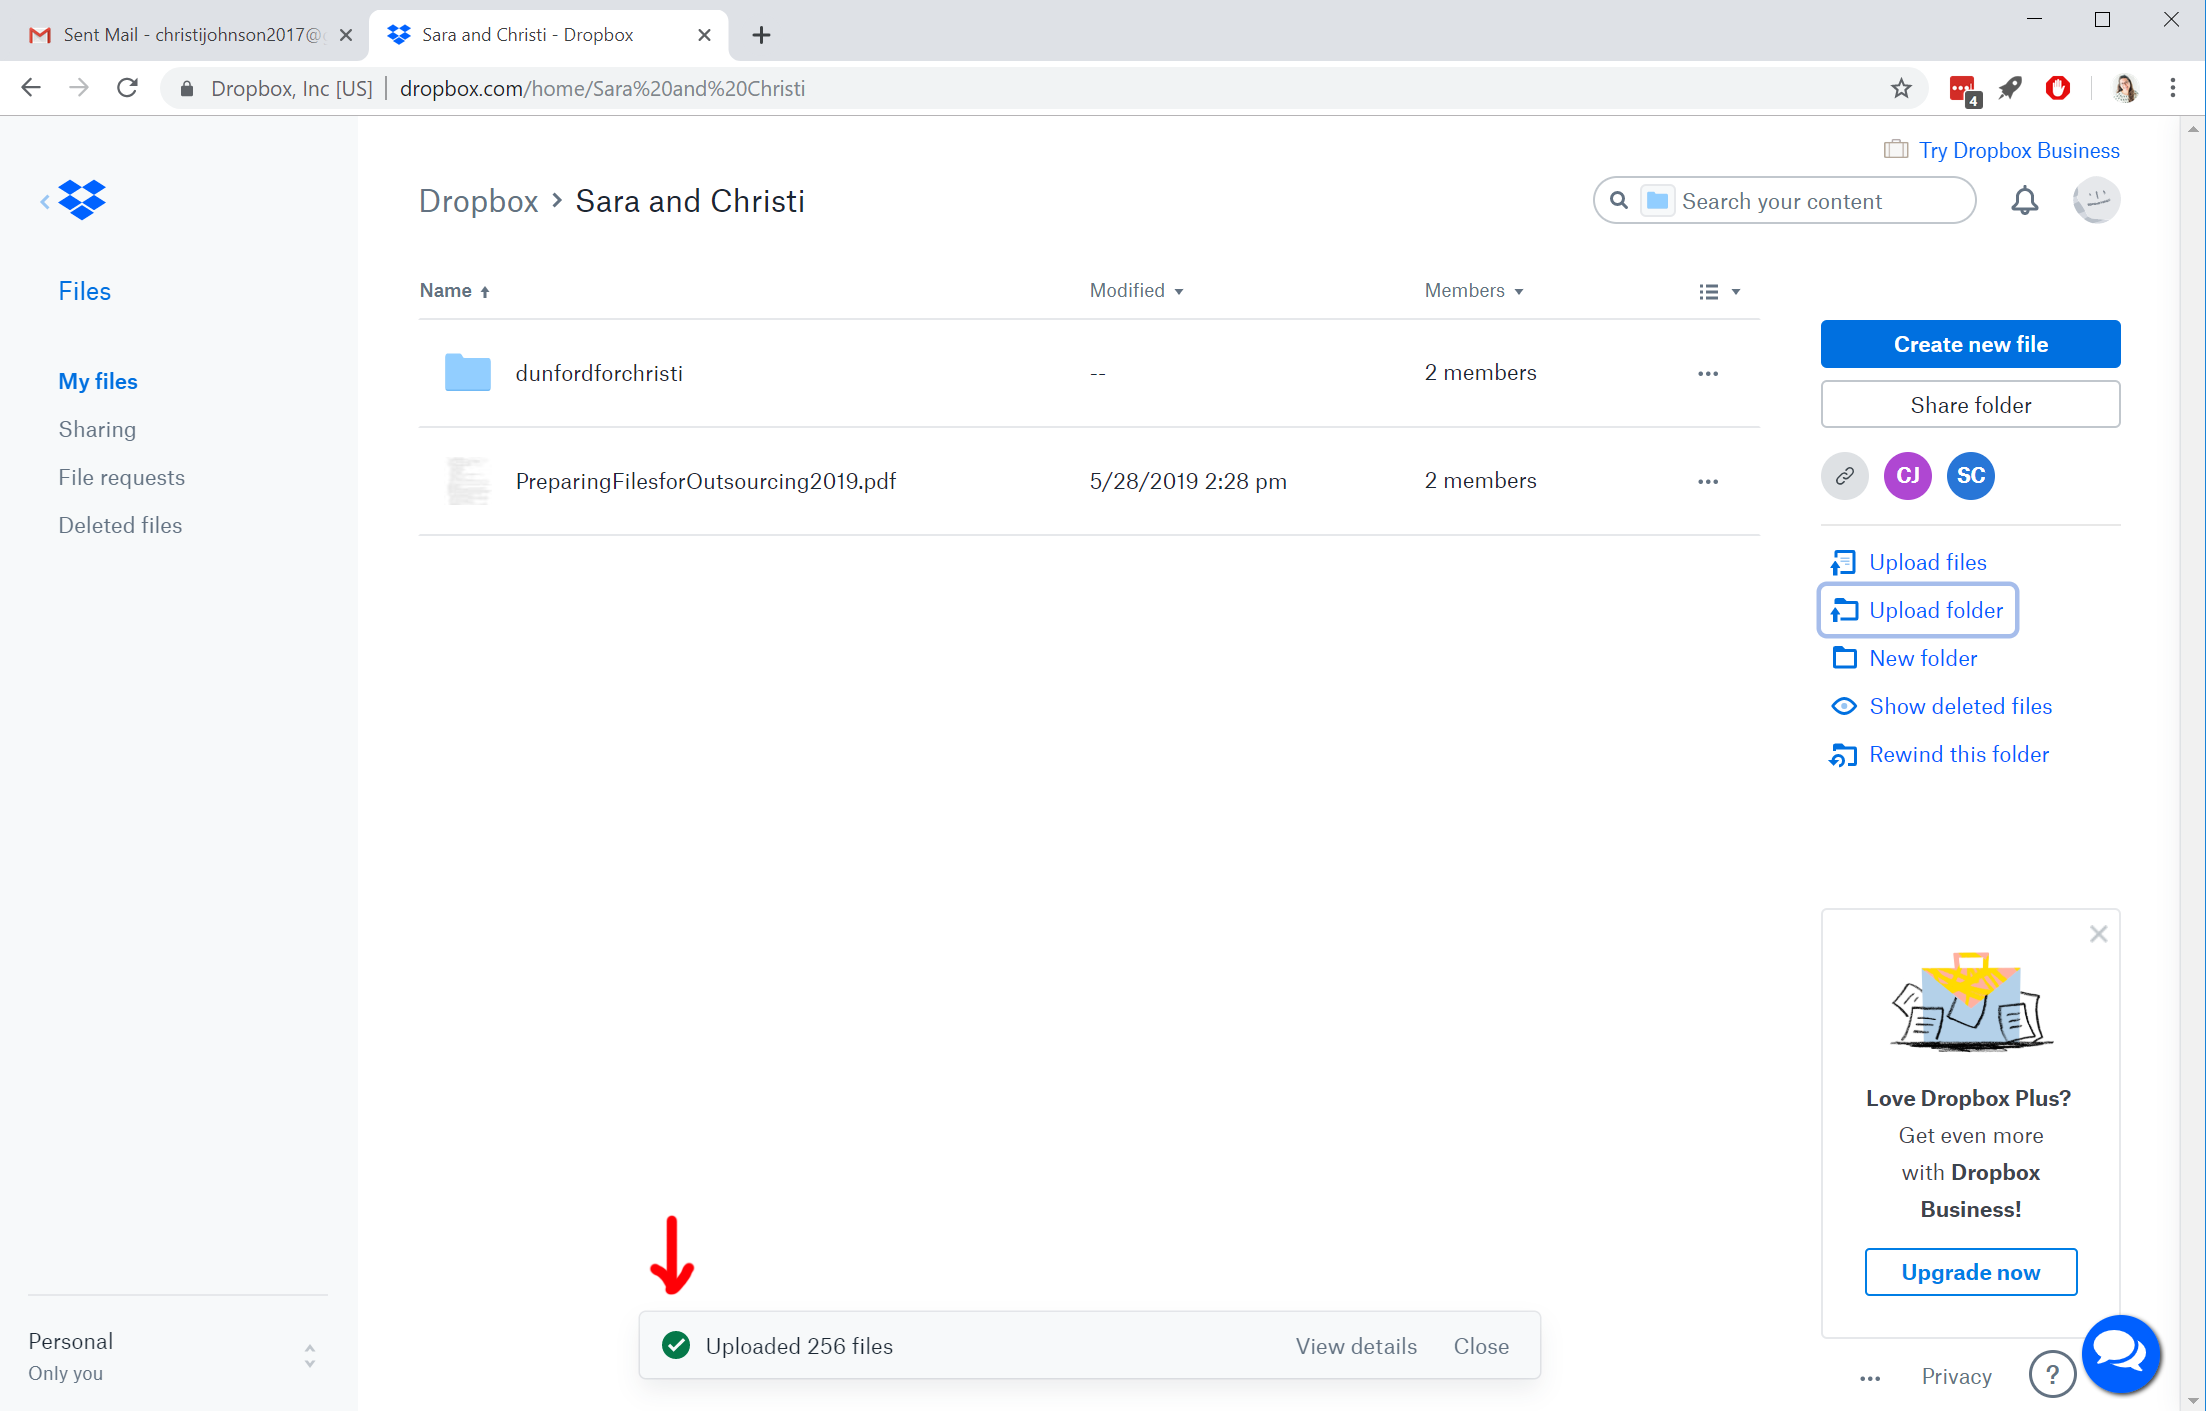
- Once your upload is complete, you will see the folder you just added appear in the Dropbox folder
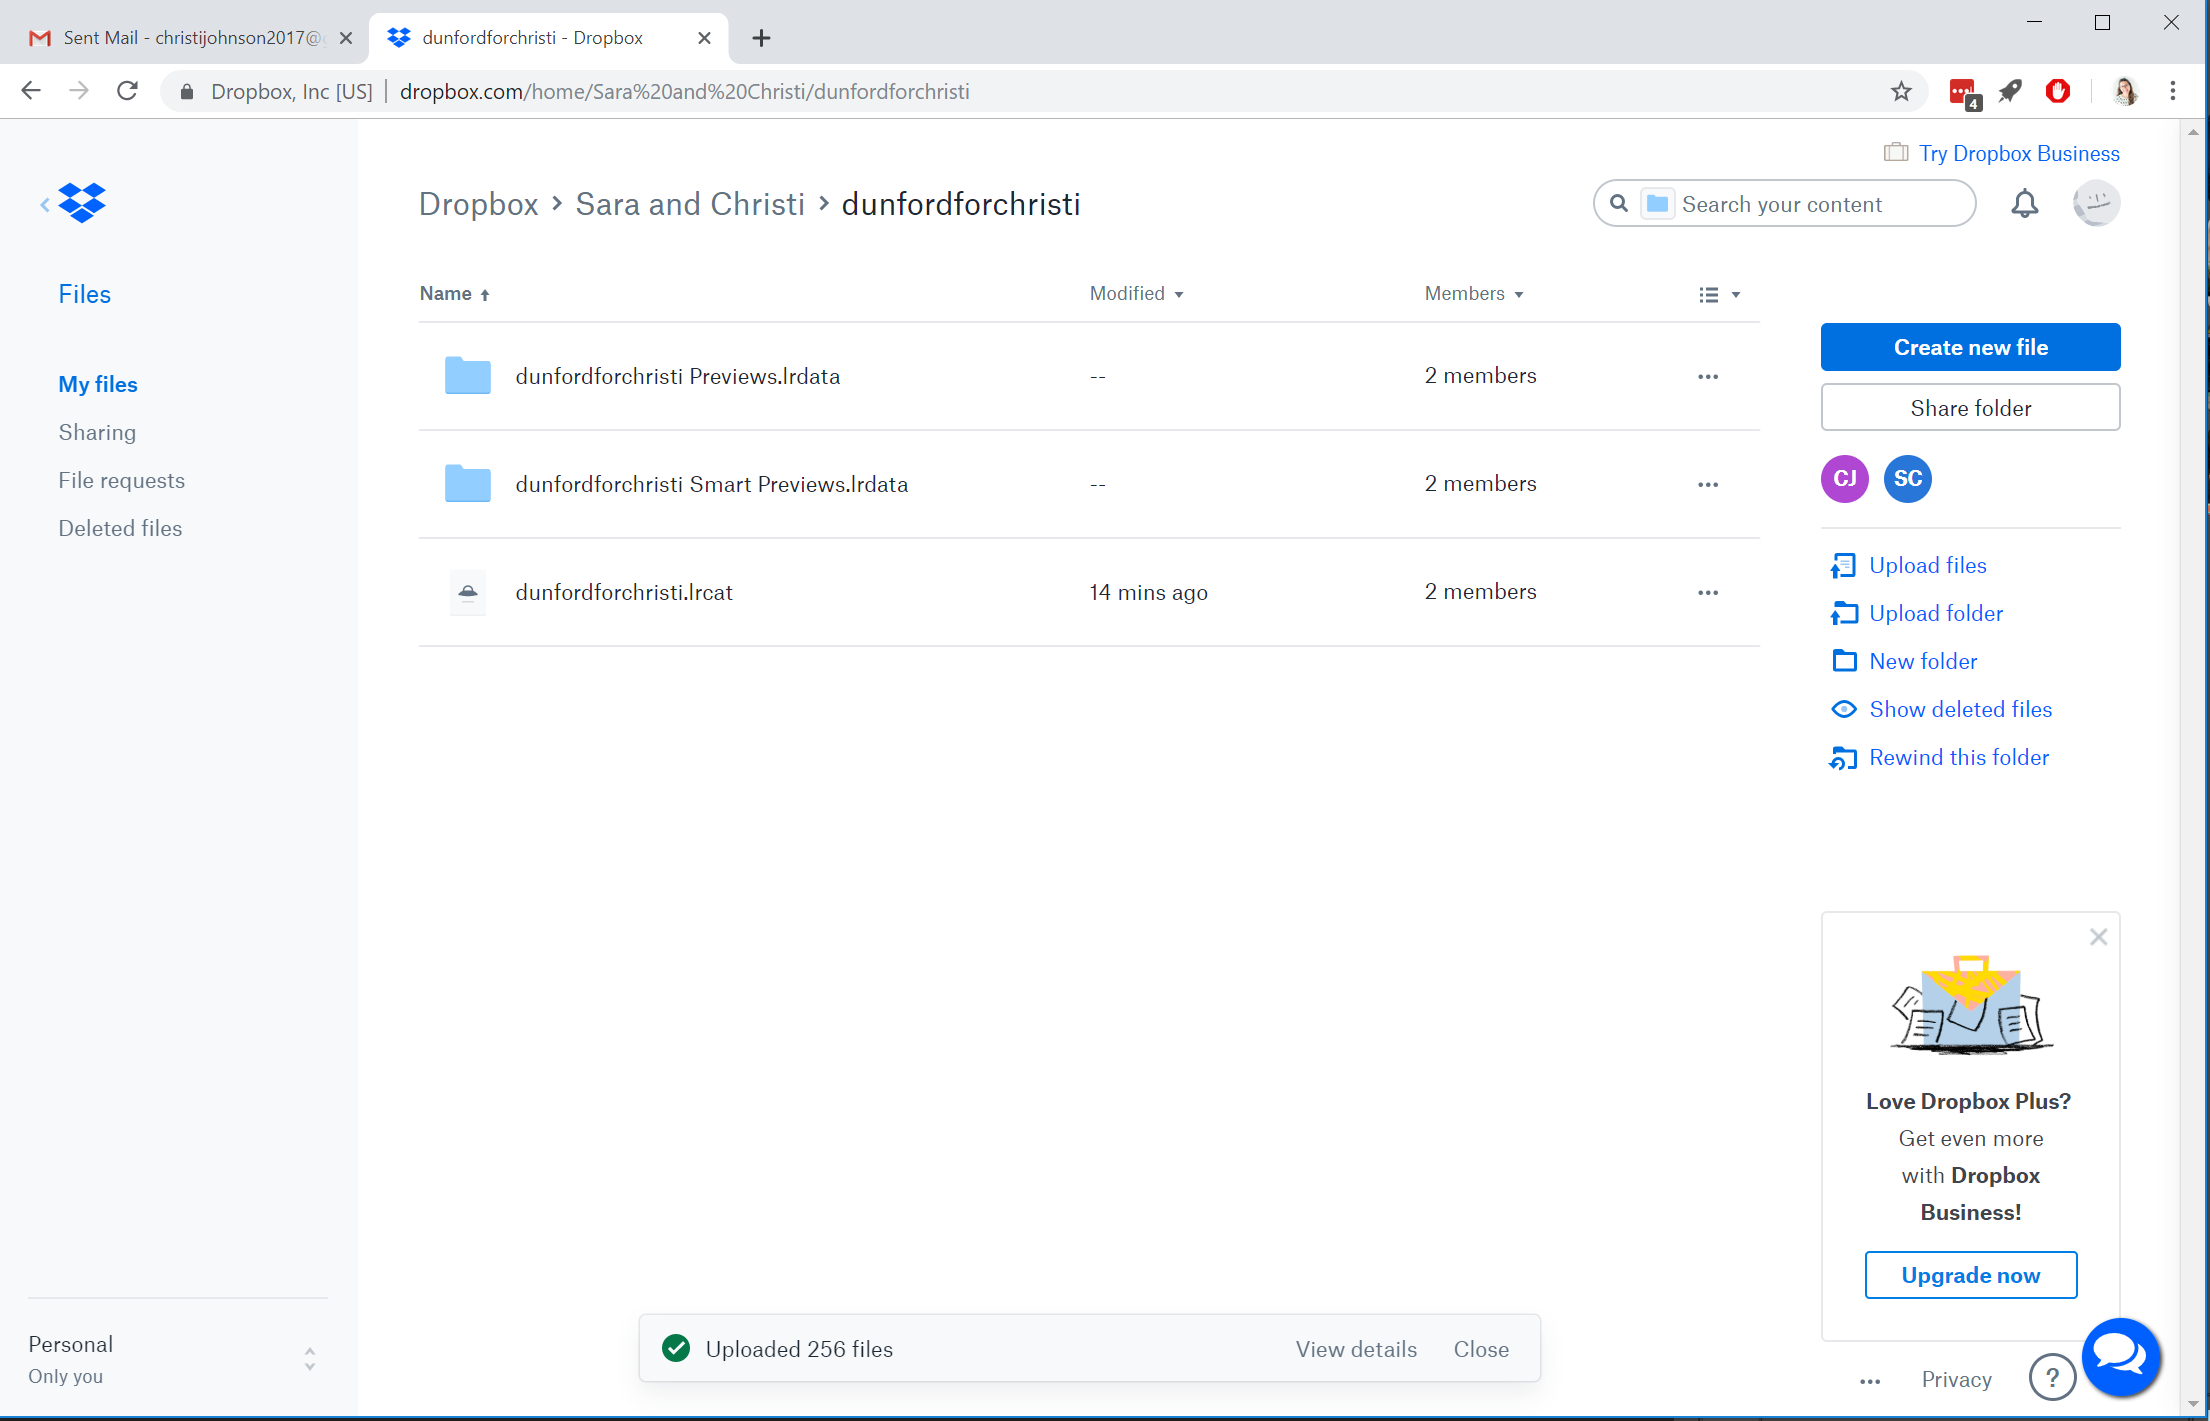
- You can open up the folder and verify that all 3 files/folders are up
- Sometimes my Dropbox notifications don’t inform me of a new upload, so be sure to tag me in the card on Trello or shoot me an email letting me know the catalog is up. Also include any other information for me such as if you want culling and how many images you’d like it culled down to, if you need help with color balance of a certain set of images, etc.
Step 3: Importing the Edited Images Back into Your Catalog
- Once I’ve finished your images, I’ll send you an email letting you know it’s up on Dropbox.
- Navigate to our shared Dropbox folder and find the folder for that session
- You’ll see a new folder called “Edited by Christi”
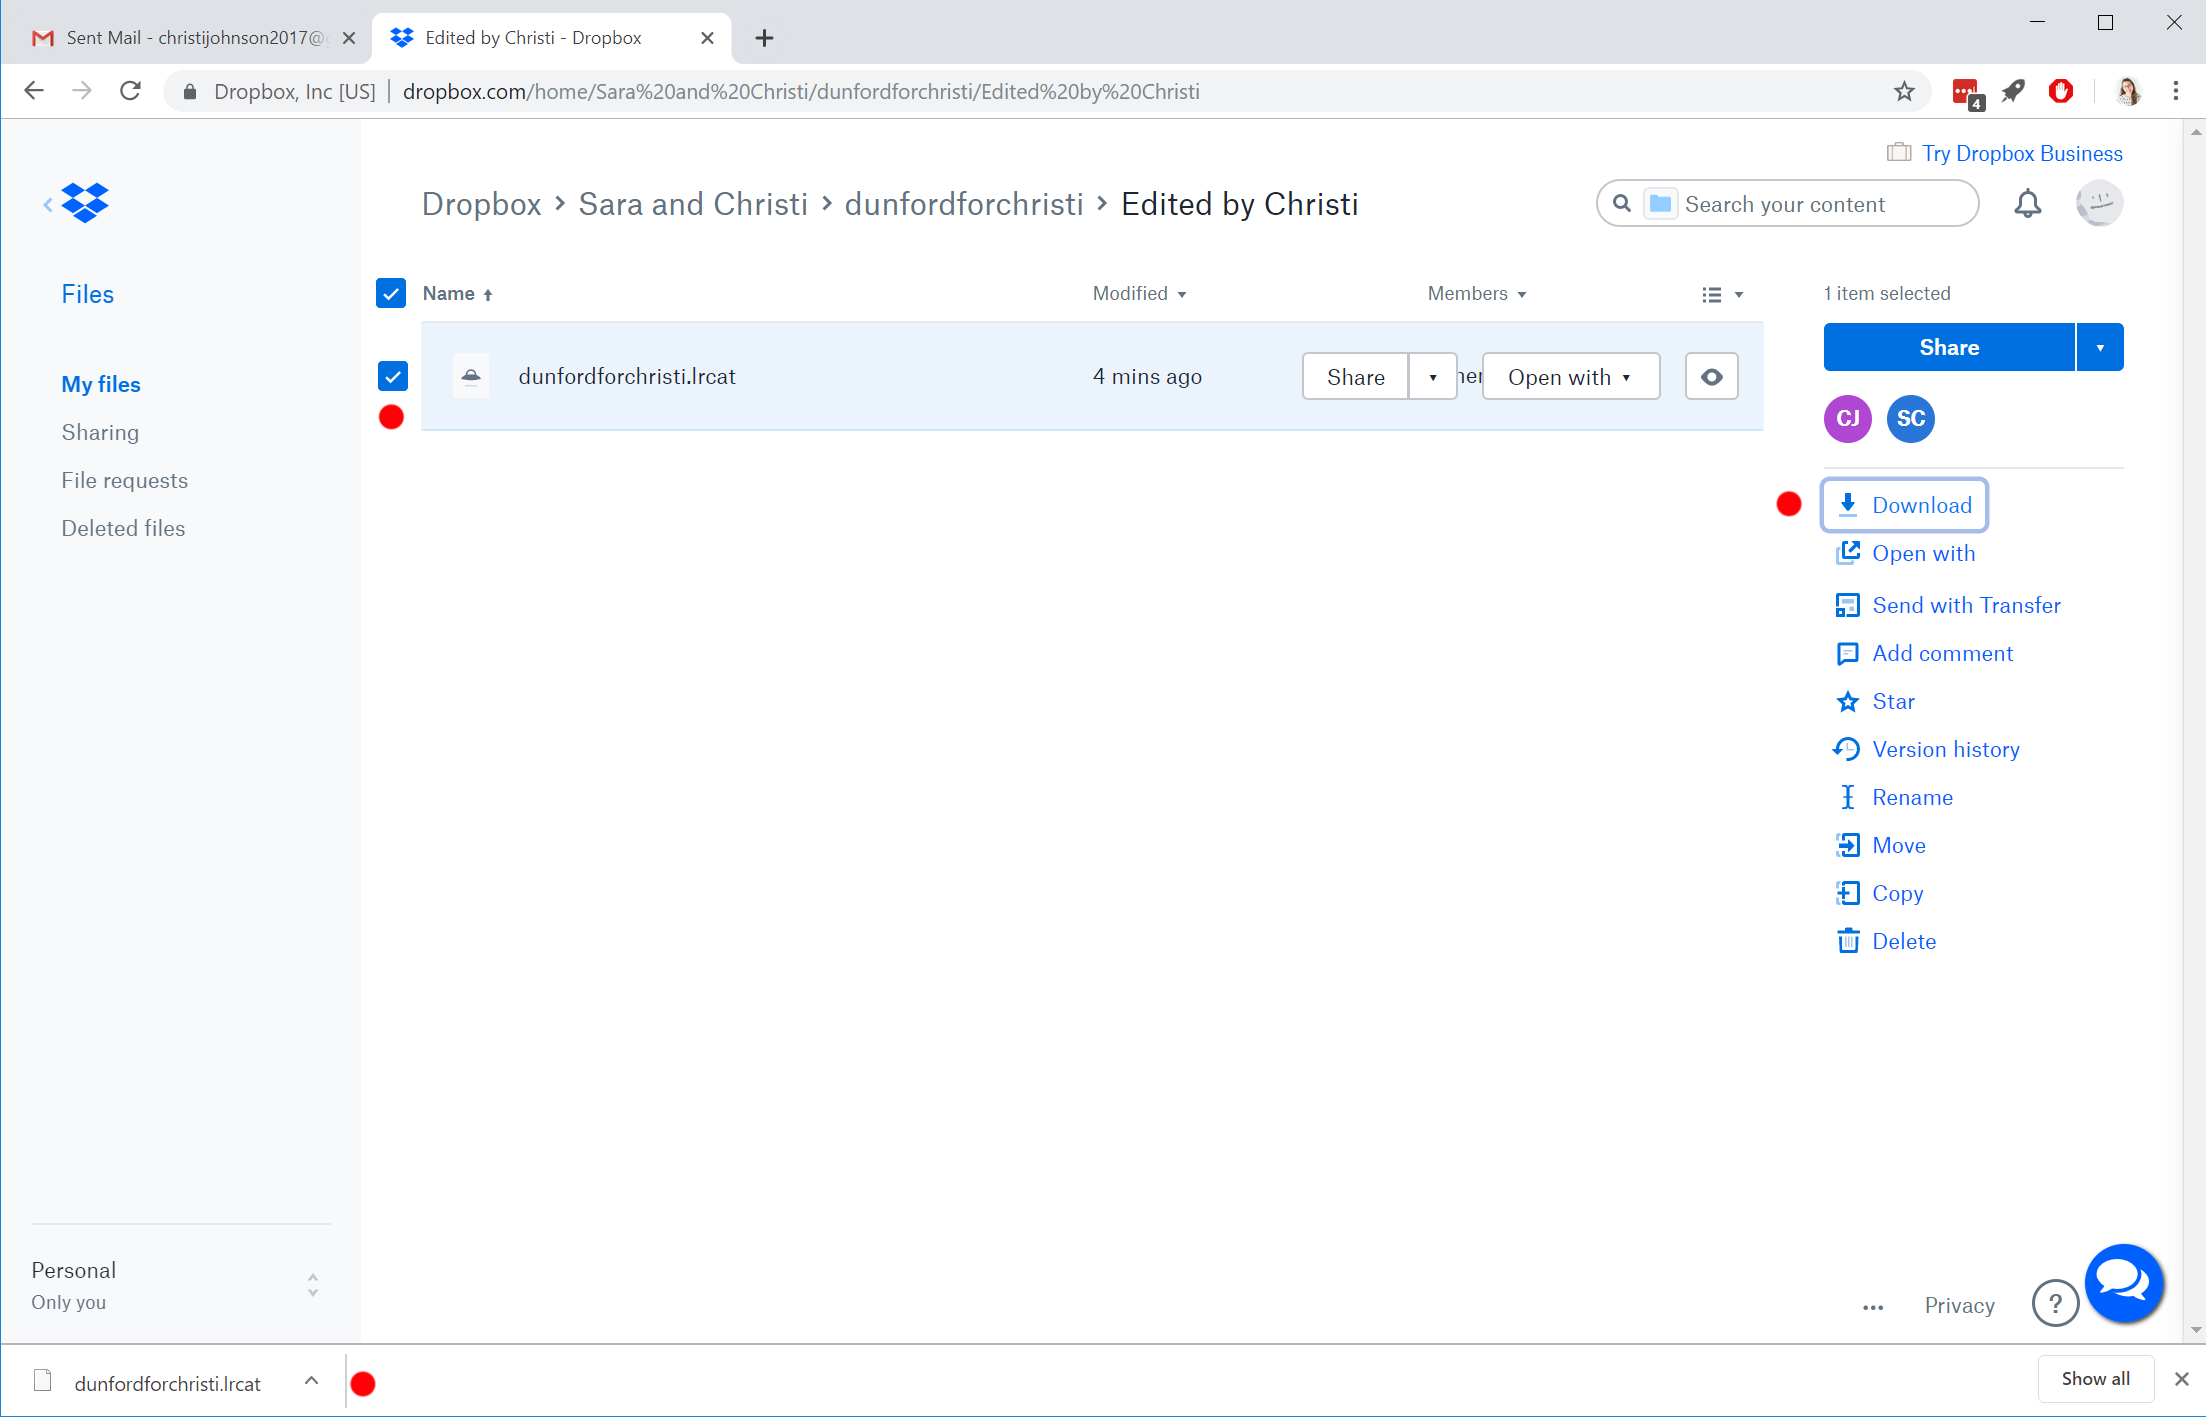
- You will see the .lrcat file that I edited in the Edited by Christi folder
- Select the file and click download
- For me, downloads automatically go to my “Downloads” folder, but you may get a dialog box where you can choose where you’d like to save it.
- Since the filename is the same as the unedited .lrcat file you sent me, be sure you save it somewhere you will remember

- Using your file explorer, you can navigate to the folder where you saved the file and verify its location.
- Do not open the file.
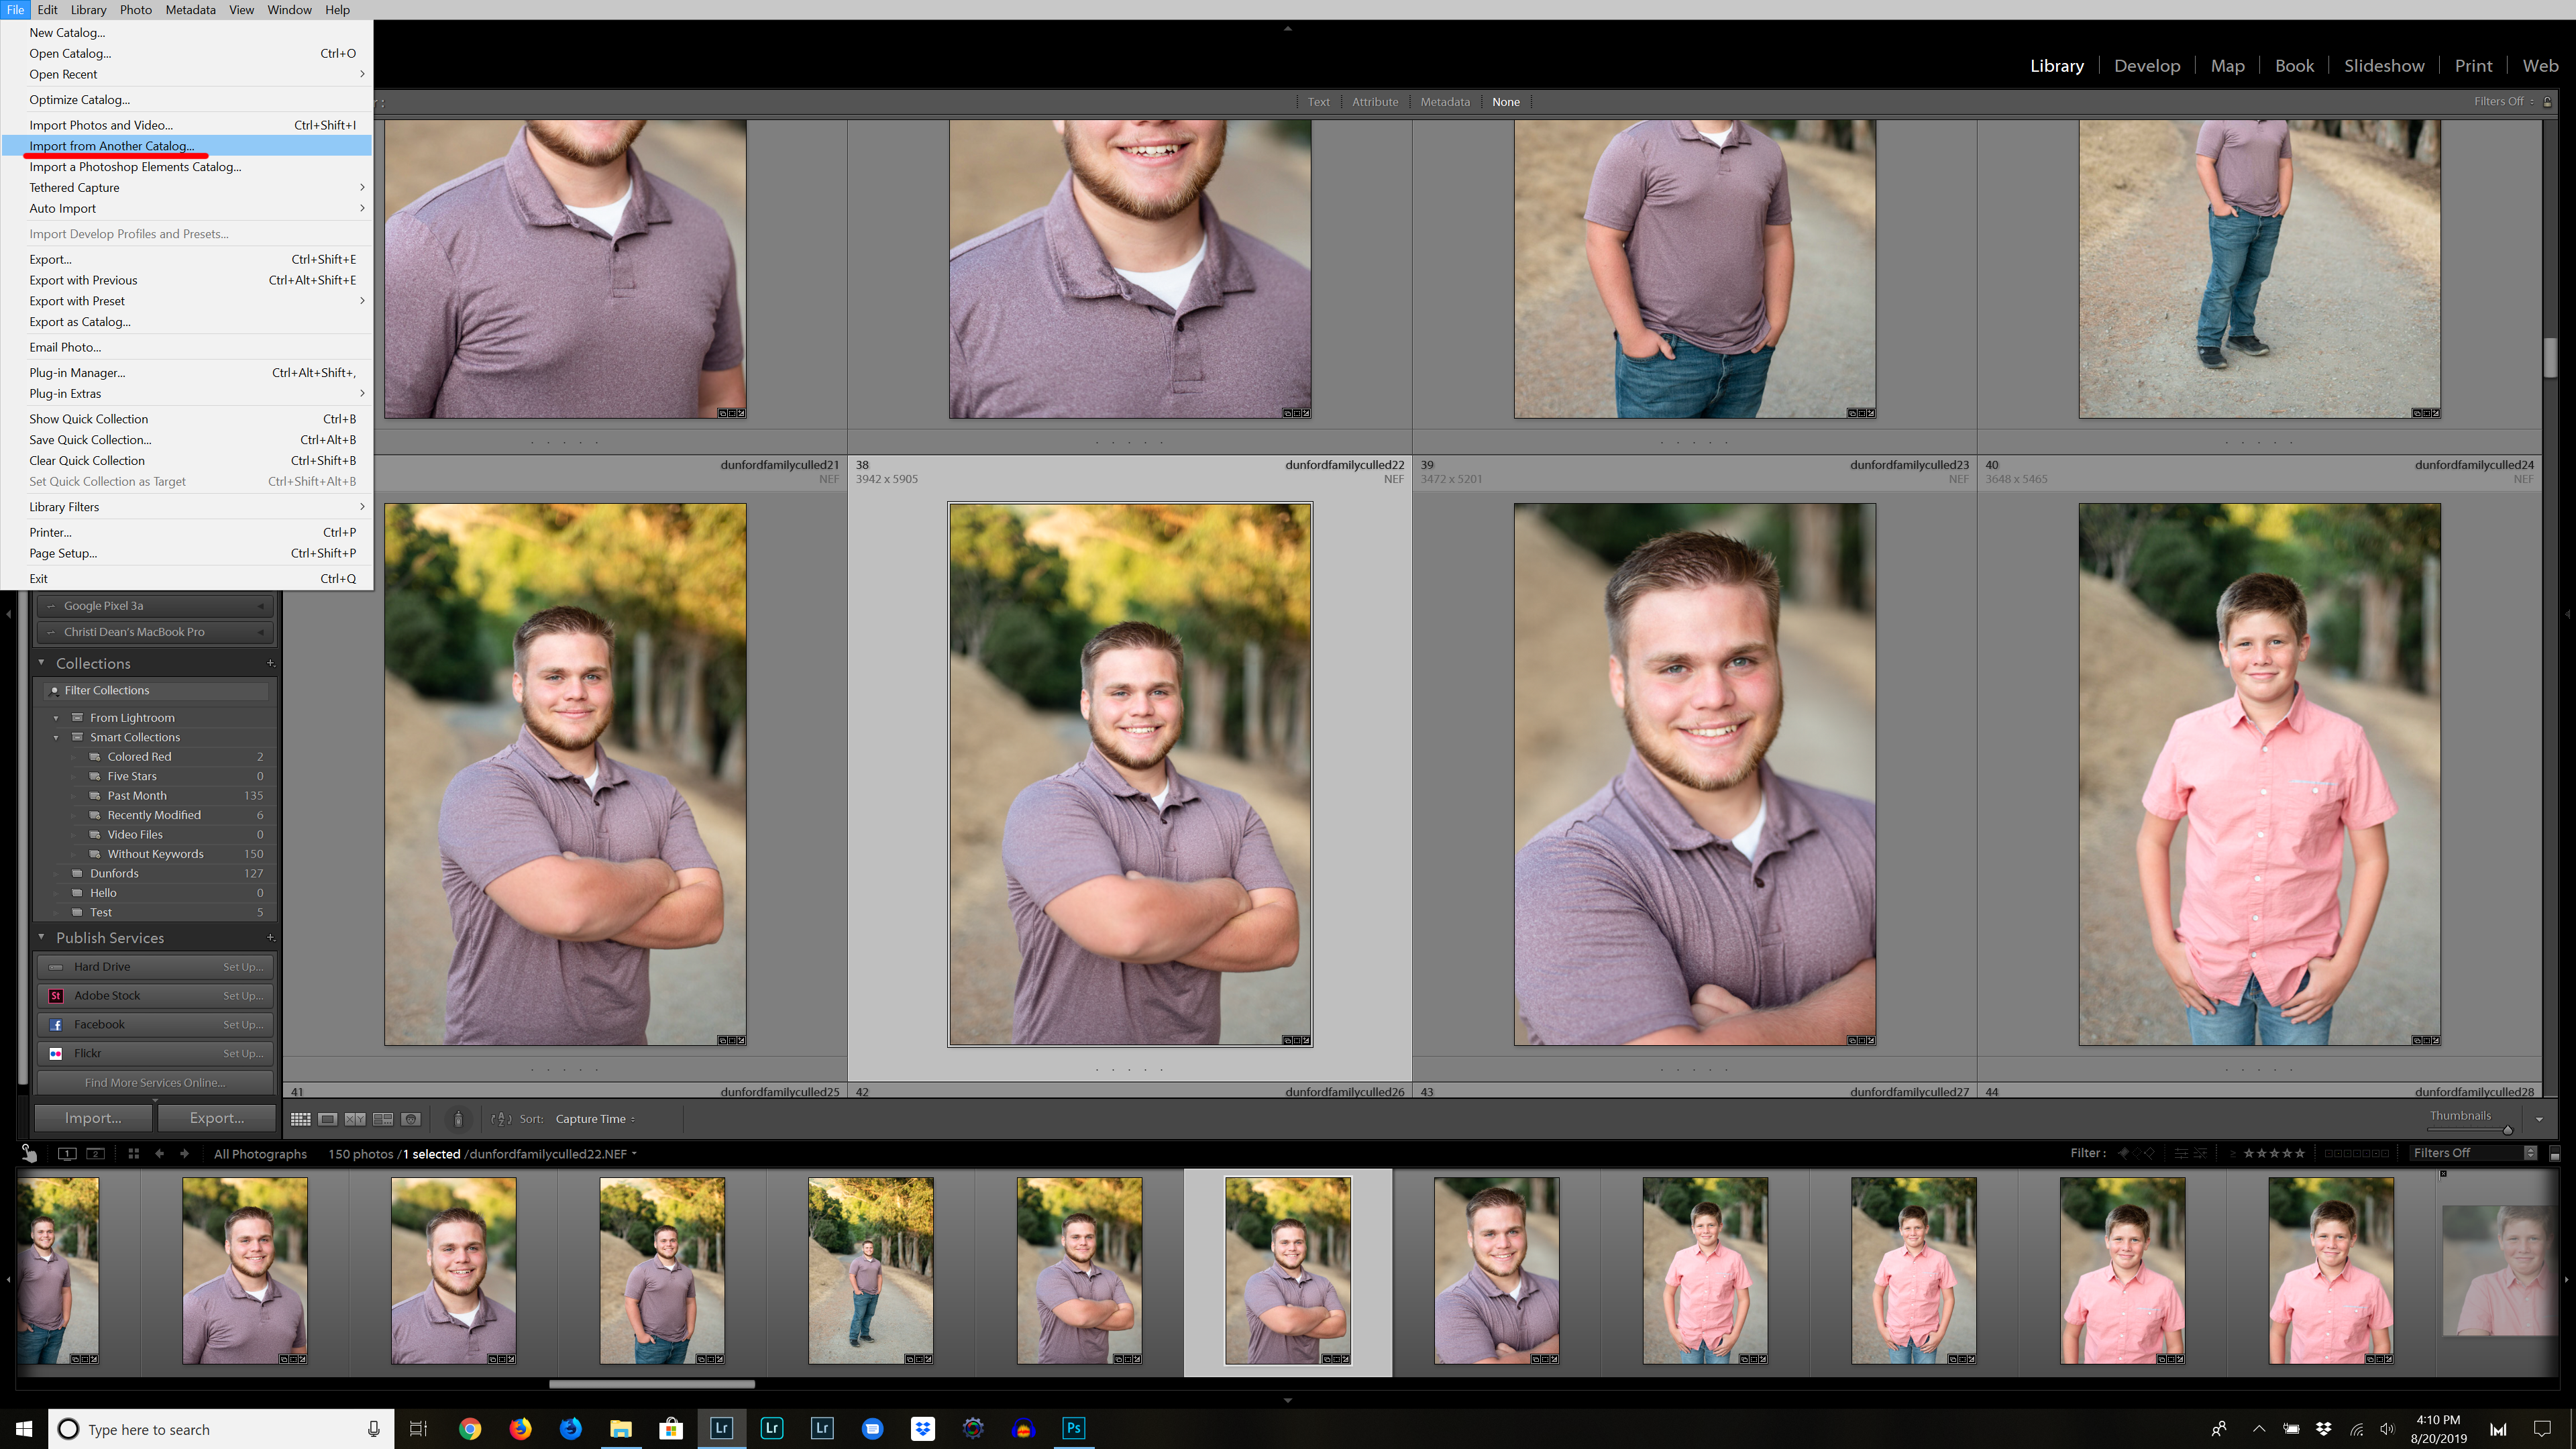
- Open your original Lightroom catalog as usual, not the file I sent you.
- Go to File>Import from Another Catalog
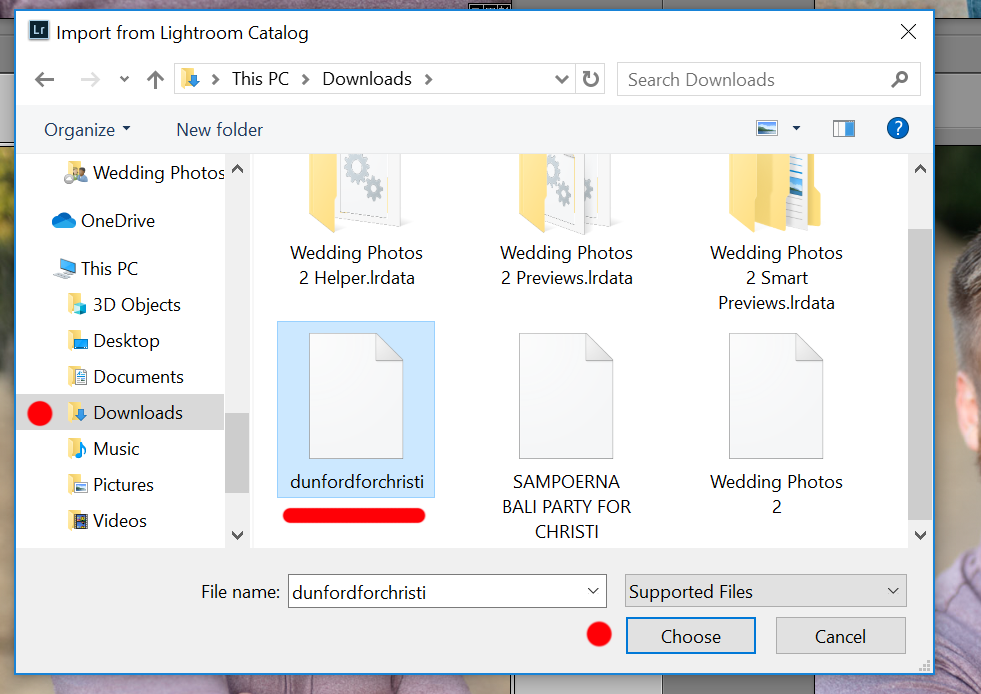
- Navigate to the folder where you saved the file, locate it, and choose it
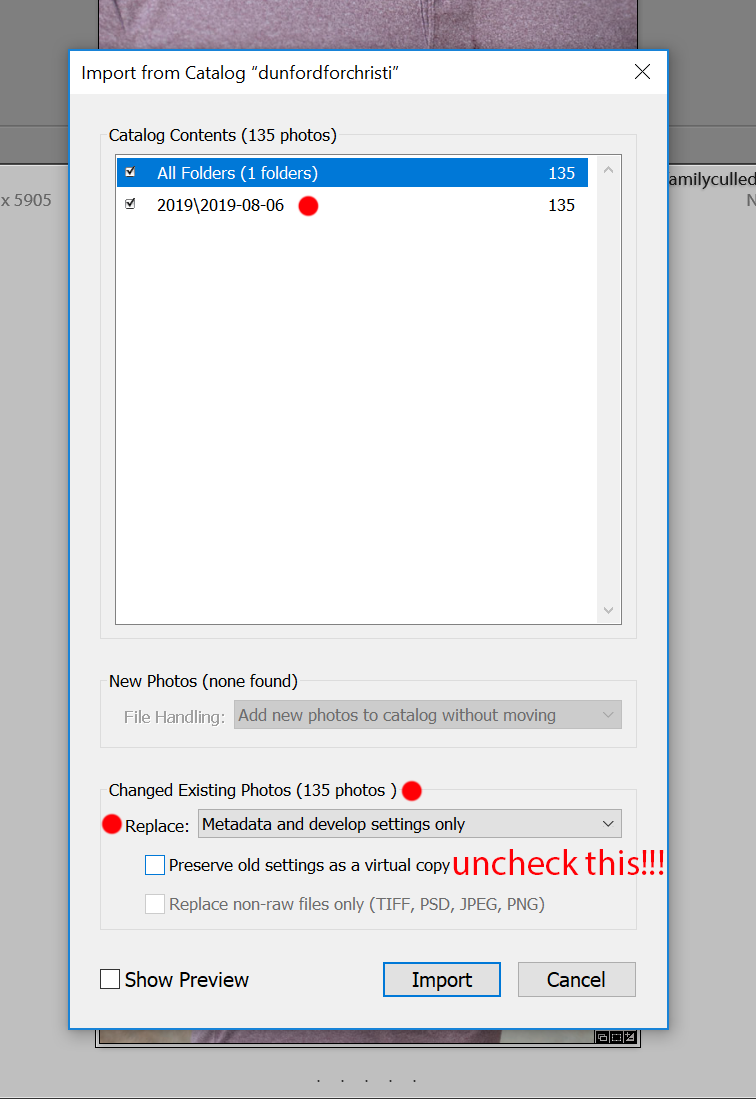
- When you select choose, you will receive a dialog box
- You will notice the catalog contents will be the original RAW files on your hard drive. **Be sure you don’t move the RAW files from their location after you send the catalog to me. If the files are not in their original location, my edits won’t be able to sync to your images.
- The number of Changed Existing Photos will be the number of images I edited (or flagged/rejected if I am culling for you). If the number looks off to you, verify that you selected the correct .lrcat file.
- In the dropbown menu, select “Replace: Metadata and develop settings only”
- DO NOT CHECK: Preserve old settings as a virtual copy. If you do, you’ll end up with two copies of every image.
- Select Import
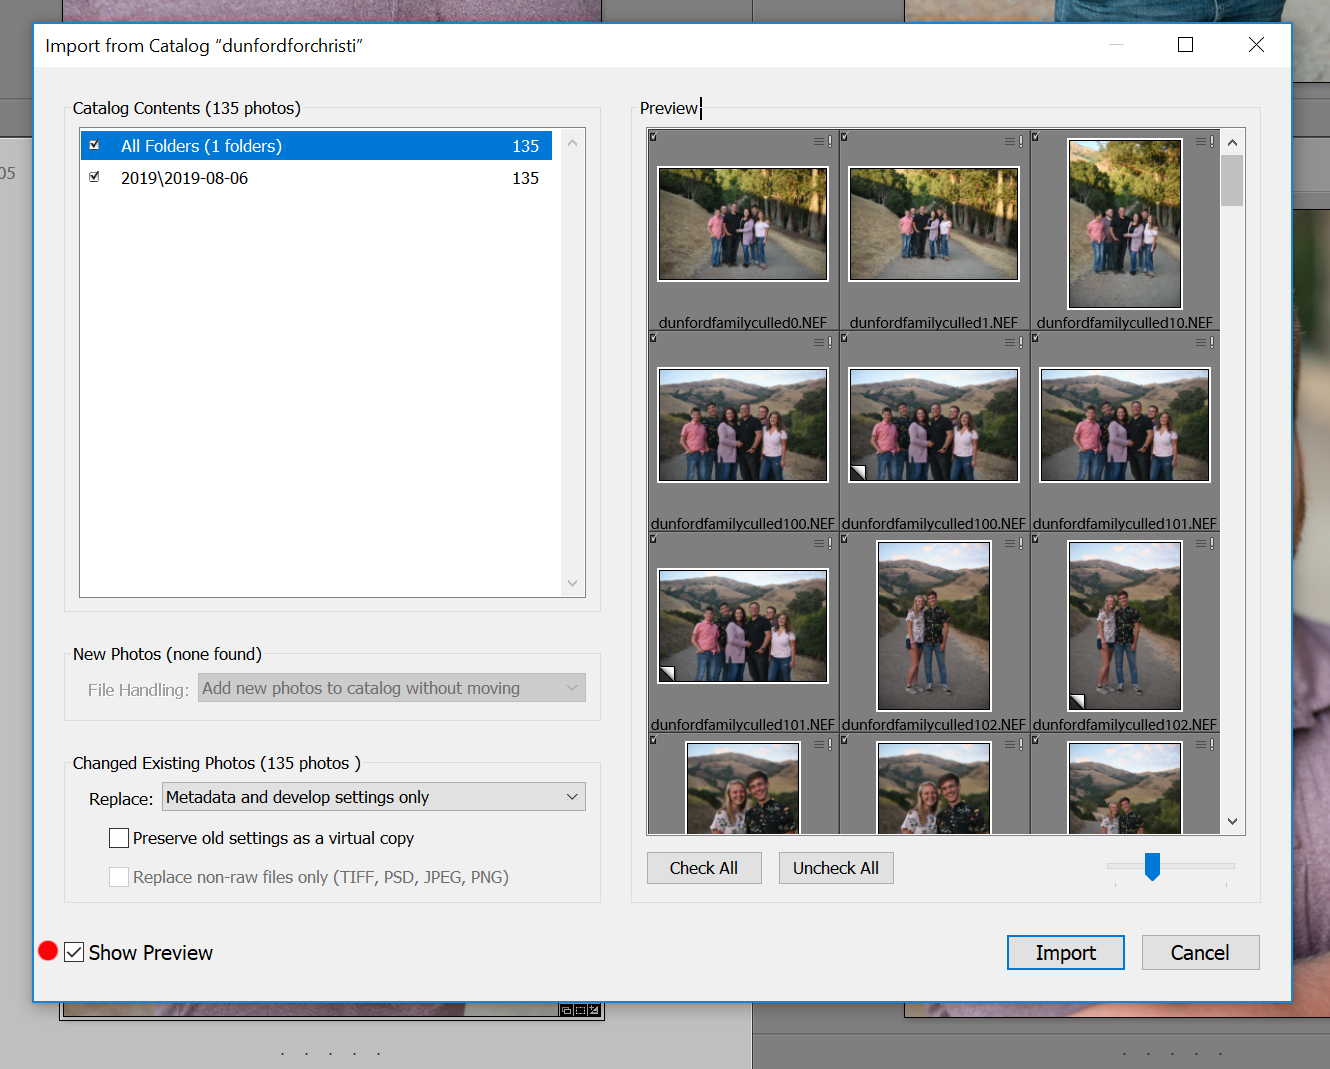
- As a side note, this is what the dialog box will look like if you have “Show Preview” selected. It will show you previews of all of the edited images.
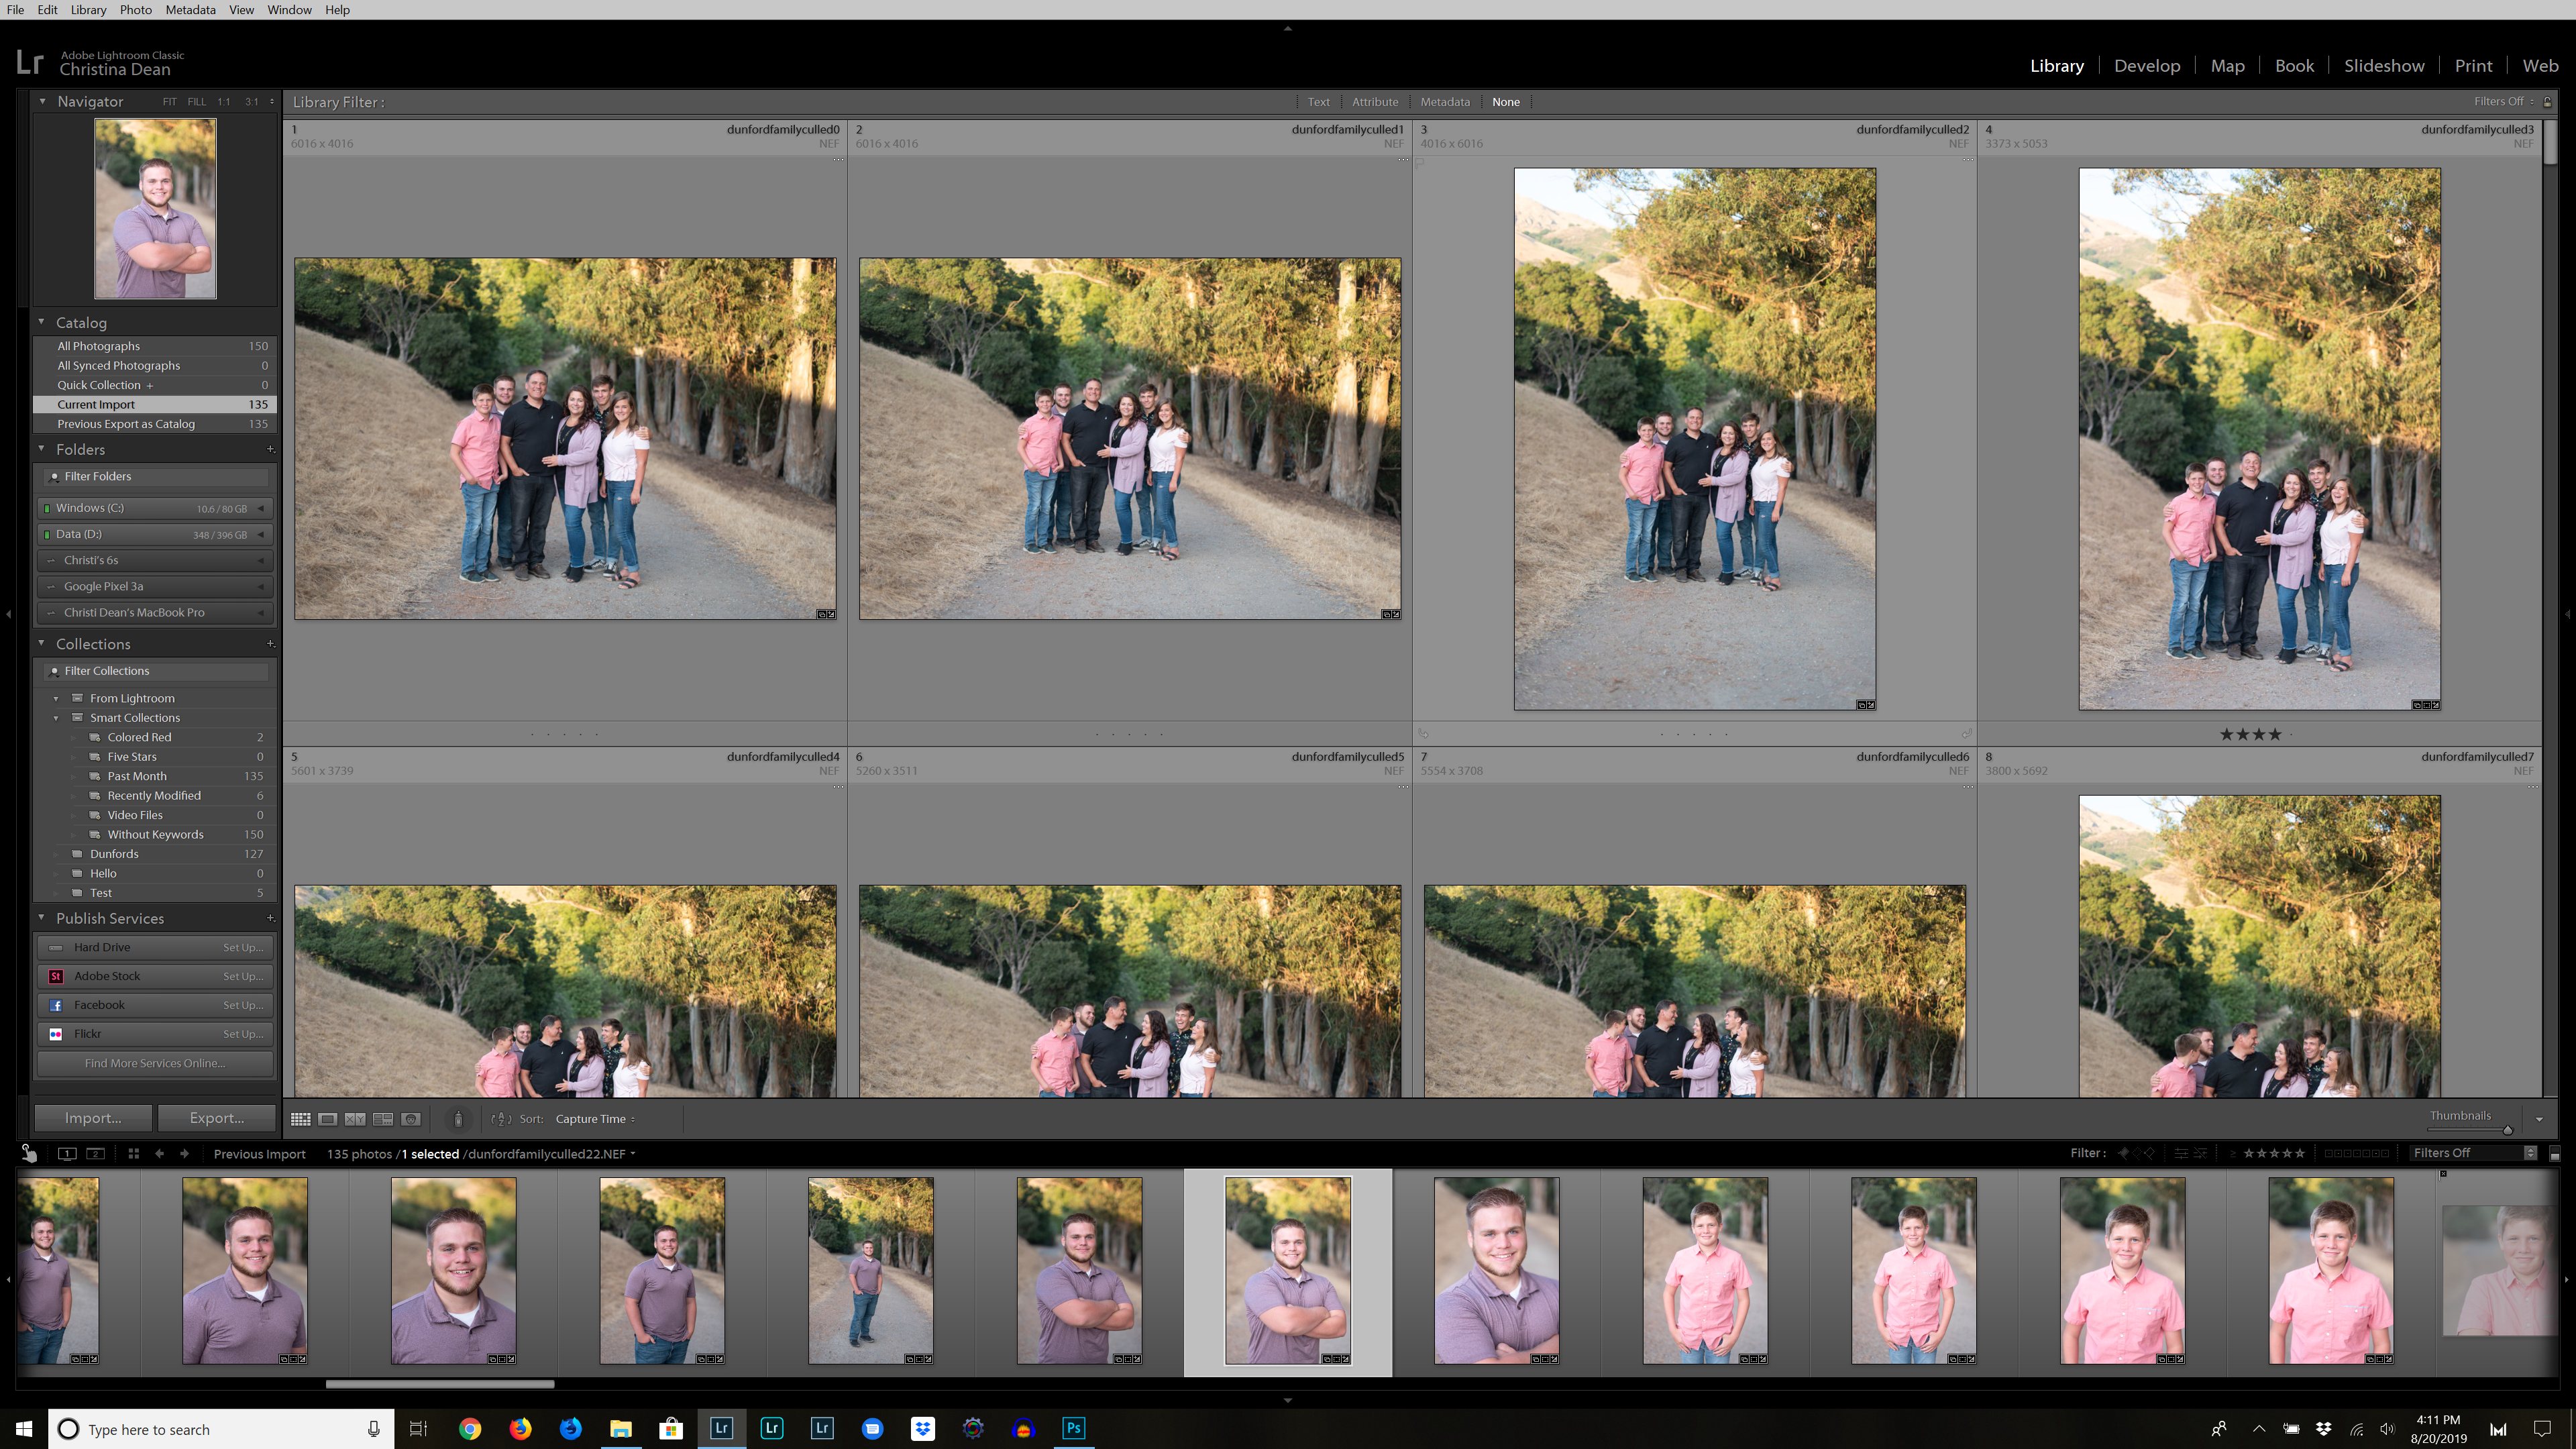
- Then the fun part! Sit back and watch your catalog populate with my edits!